I once ordered a fan motor by eye and got the wrong shaft length. Half an inch made the part useless. Air conditioner condenser parts are like that: from the yard, the outdoor unit looks straightforward, but the details are specific. A capacitor that is off by a few microfarads, a fan blade with the wrong pitch, or a contactor with the wrong voltage rating can turn a cheap repair into a second service call. If you want to spend money once, not twice, start by learning which pieces sit outside, which failures are common, and which ones are worth replacing before summer heat does the math for you.
What air conditioner condenser parts actually do
The outdoor unit is the part of the system that dumps heat outside. In plain English, it is where the hot refrigerant gives up its heat before the cycle starts over again. Inside that box, the condenser coil, compressor, fan motor, fan blade, capacitor, and contactor all have jobs that are boring until one of them quits. Then the whole house feels expensive.
The condenser coil is the big aluminum-and-copper heat exchanger. The fan motor and blade pull air across it. The capacitor gives the motor the electrical shove it needs to start and run. The contactor is the relay that tells the unit when to turn on. If you are hearing a hum, seeing the fan stall, or noticing the breaker trip, those are not random symptoms. They point to a short list of parts that deserve inspection first.
The useful part for a homeowner is this: not every failure means a full replacement. Some jobs are a $25 fix. Some are a $300 fix. Some are the kind that make a contractor clear their throat and talk about system age.
The failure signs that matter most
The first sign is usually performance, not noise. The air coming from the vents is warm, the thermostat keeps calling, and the house never quite catches up. That can mean a bad capacitor, a weak fan motor, or a dirty coil that cannot shed heat well enough. If the outdoor fan is spinning slowly, starting late, or not starting at all, stop guessing. Shut the system down and look at the parts before something expensive overheats.
Another common clue is repeated breaker trips. That can happen when a compressor is drawing too much current, but it can also happen when a fan motor is binding or a capacitor is failing. A buzzing contactor, burned terminals, or a swollen capacitor top are the kind of details that separate a fast repair from a wasted afternoon.
I like to think about it the same way I think about furniture hardware. If the hinge is wrong, the cabinet does not care how nice the finish is. The system either runs or it does not. Air conditioner condenser parts do not reward optimism.
Which air conditioner condenser parts are worth replacing first
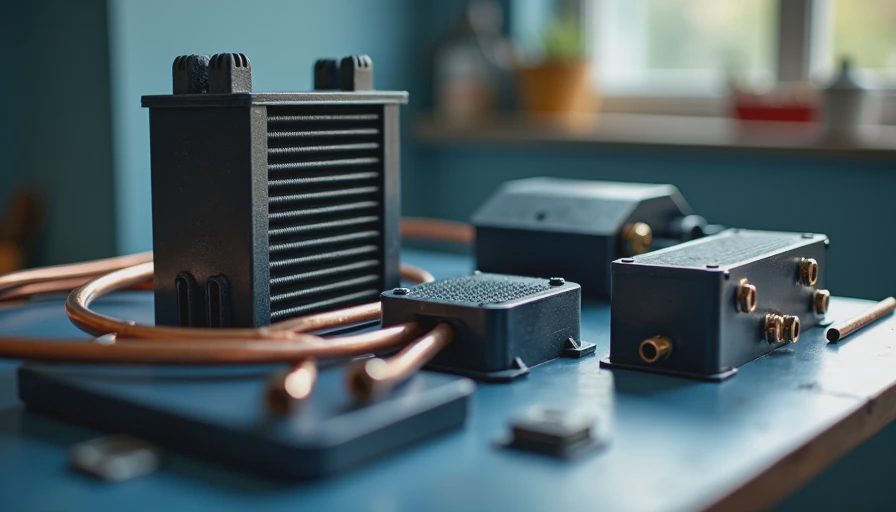
If you are trying to control cost, start with the pieces that fail often and are relatively cheap to swap. Capacitors usually land in the $15 to $40 range for the part, and contactors often run about $20 to $60. A fan blade can be $30 to $80. A condenser fan motor commonly lands around $150 to $450 for the part, depending on size and brand.
That is the smart zone for a homeowner to inspect first because the price of the part is still lower than the cost of ignoring it. A worn capacitor can make a good motor act bad. A loose contactor can keep the unit from starting cleanly. A bent fan blade can throw the whole system out of balance and make the motor work harder than it should.
The expensive pieces are where the conversation changes. A compressor failure or a damaged coil can push repairs into the high hundreds or well over a thousand dollars, especially once labor is added. At that point, the age of the system matters. On a newer unit, repair can make sense. On an older unit, the numbers can start pointing toward replacement instead of a patch job.
How to buy replacement parts without getting burned
This is where people lose money. The part looks close. The model number is partly readable. The website says universal. Then the repair stalls because the details do not match.
Start with the nameplate on the outdoor unit. Write down the full model number, serial number, voltage, and refrigerant type if you are dealing with anything beyond an electrical part. For a capacitor, match the microfarad rating exactly and make sure the voltage rating is equal to or higher than the original. For a fan motor, match the horsepower, RPM, frame size, rotation direction, and shaft length. For a fan blade, match the diameter and pitch, not just the number of blades.
If you want a reliable path, use the model number to search a parts house such as Johnstone Supply, Grainger, or SupplyHouse.com, then cross-check the OEM number against the replacement listing. Brands like Carrier, Trane, Goodman, Lennox, Rheem, and York all have parts ecosystems that look similar from a distance and very different up close. Trust the tape, not your eye.
When to call a pro and how to sanity-check the bill
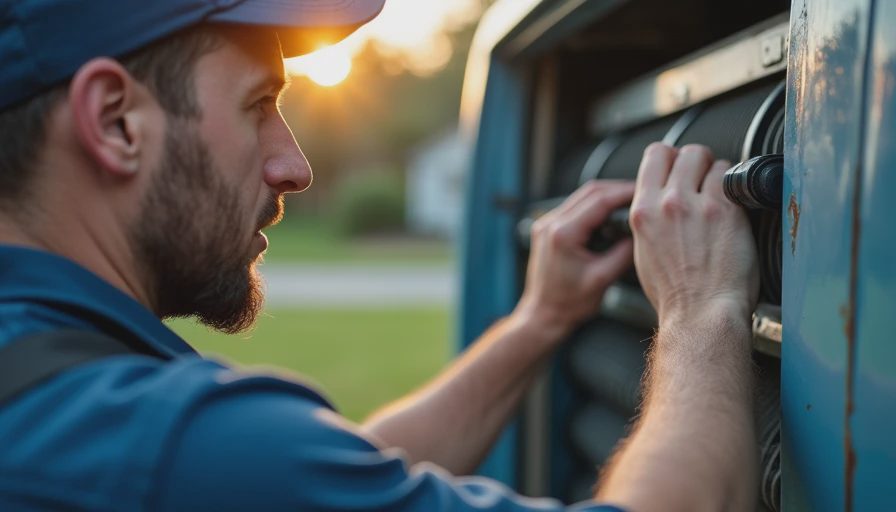
Some repairs are clean DIY jobs if you know how to kill power at the disconnect and you are comfortable with basic electrical work. A capacitor swap or contactor replacement is often in that category for a careful homeowner. Anything that involves the compressor, refrigerant, a leaking coil, or repeated breaker trips belongs with a licensed HVAC tech. Refrigerant handling is not a casual Saturday project.
The good news is that a good estimate is usually easy to sanity-check. Ask what failed, what was tested, and what readings they got. If the tech says the compressor is bad, you should hear why. If they say the whole condenser needs replacement, ask whether the coil is damaged, the compressor is failing, or the repair cost is close to a new system.
Service calls often run roughly $100 to $200 before parts, and labor can add another $150 to $500 or more depending on the job and your market. That is why diagnosis matters. A smart repair bill should name the failed part, the test that proved it, and the price difference between repair and replacement. If those numbers are fuzzy, get a second quote.
A simple decision formula before you spend real money
Here is the system I would use if my own house were baking in July and the outdoor unit went quiet. First, check whether the fan runs and whether the contactor pulls in. Second, inspect the capacitor for swelling, leaks, or a failed reading. Third, confirm the fan blade spins freely and the motor shaft is not stiff. Fourth, compare the repair price to the age of the unit. If the system is under ten years old and the failure is a small electrical part, repair is usually the clean move. If the unit is old, the compressor is tired, or the coil is leaking, replacement starts looking smarter fast.
That is the part people skip when they buy air conditioner condenser parts on panic. They chase the symptom instead of the cause. I did that once with a drawer pull, and Tim laughed for a week. HVAC is less forgiving. Measure first. Match the model number. Replace the cheap failed piece before you sign up for a bigger bill. Trust the tape, not your eye.




No comments yet — grab the first one.