
I once spent 45 minutes in a hardware store comparing two trash cans that were almost the same color. That is not a personality trait I recommend, but it does explain why I care so much about wall materials. In an old house, the wrong finish or substrate turns into extra labor, weird patch lines, and a repair bill that looks rude on paper. The right choice gives you cleaner corners, fewer surprise cracks, and a room that can survive a dog, a moving couch, and one bad winter of humidity.
I like decisions that survive contact with reality. So I look at wall materials the same way I look at a budget spreadsheet — what is the base layer, how much will it cost to fix later, and who is going to hate the maintenance. Tim likes to remind me that my favorite wall is not always the smartest wall. He is usually right. The trick is to match the wall to the room, not to chase the prettiest sample board at the store.
How to judge wall materials in an old house
Start with the house itself. A 1920s place with settled framing and original plaster has different needs than a 1950s ranch with thin drywall and a few taped seams that are already angry. If the wall moves, cracks, or sounds hollow in places, you are not just choosing a surface — you are choosing how much future repair you are willing to buy. That is why I ask three questions before I touch a sample: Is this room dry, is it bumped by people or pets, and will I need to open it again in five years for plumbing or wiring.
That last one matters more than most people think. Kitchen and bath walls get opened more often, so accessible systems are worth more than a fancy finish. Hallways take shoulder hits, dog tails, backpack corners, and every package delivered by a driver who thinks the doorframe is optional. Bedrooms are easier. Basements are the real test — if there is dampness, the best-looking surface in the world turns into a maintenance hobby.
When people ask me which wall materials to trust first, I usually say to trust the boring answer. Drywall is easy to patch. Plaster is harder to repair but can feel sturdier and quieter. Wood paneling looks charming in some rooms and cheap in others, depending on thickness, trim, and condition. The trick is not to pick the prettiest board. It is to pick the one whose weak points you can actually live with.
Drywall, plaster, and paneling: the repair math
This is where the numbers stop being abstract. Basic drywall installation is often the cheapest path, especially if you are repairing a whole room instead of chasing one bad wall. Materials for standard 1/2-inch drywall, tape, joint compound, and screws are usually modest; labor is the real swing factor. In many markets, a small patch might run a few hundred dollars, while full-room replacement can climb quickly once you add demo, disposal, and finishing. If you are doing ceilings or want more sound control, 5/8-inch board is common because it handles sag and dents better.
Plaster is the opposite. It is often beautiful, dense, and annoying in the same breath. Small cracks can be patched, but a failing plaster wall can take more time to stabilize than replacing it with new board. I have seen homeowners spend money twice — once on cosmetic patching, then again on the deeper fix when the crack telegraphs back through paint. If your place still has clean plaster and it is not crumbling, I usually favor preservation. If it is loose, soft, or hollow in whole sections, the math changes fast.
Wood paneling sits in the middle. Thin builder-grade sheets can look dated and telegraph every bump behind them. Thicker beadboard, shiplap, or real wood wainscot can make sense in mudrooms, offices, and lower wall zones that take abuse. It is not the cheapest route, but it can be smart in high-contact areas if you want fewer repaint cycles.

Moisture, paint, and the hidden failure points
Moisture is the part people forget until the paint bubbles. In bathrooms, laundry rooms, and below-grade spaces, wall materials need more than a pretty topcoat. Standard drywall is not made for repeated water exposure. In a wet area, moisture-resistant board, better ventilation, and the right primer matter more than a trendy color. A $25 gallon of primer can save you from redoing a whole room because the topcoat flashed unevenly over a patch.
Paint sheen also changes how the wall performs. Flat paint hides flaws, but it is harder to scrub. Eggshell and satin are usually the practical middle ground for living rooms and bedrooms. Semi-gloss has its place on trim and in splash zones, but it can make every repair line obvious if the prep is sloppy. I learned that the expensive way in a hallway where the touch-up patch looked fine in daylight and terrible at night. Same paint, same brush, different angle — and suddenly every mistake was visible.
For older homes, primer is not optional if you are changing surfaces. Raw patch, new drywall, and sanded plaster all absorb differently. If the wall is not sealed, you get blotches, lap marks, and the kind of finish that makes you keep checking it with your eyes like that will somehow help.
Pets, dents, and daily cleaning
If you live with a dog, the walls will be tested. Mine has a talent for rounding corners at full speed, which means I think about scuffs the way some people think about weather. In a pet-heavy house, wall materials should be easy to clean and hard to dent. That pushes me toward smoother finishes, tougher trim, and paint that can take a damp cloth without leaving a shiny scar.
This is where abuse happens in real life: hallway corners, around light switches, behind dining chairs, and wherever a leash gets tangled. A washable-looking wall is not enough. You want a surface that survives repeat contact without needing a whole repaint every spring. In practical terms, that means using good caulk at trim lines, adding corner guards where traffic is predictable, and avoiding delicate textures that collect dirt. Venetian plaster looks lovely until someone brushes past it with a backpack zipper.
For wall materials, I also pay attention to color depth. Mid-tone paint hides dust better than bright white, and a subtle satin sheen is easier to wipe down than dead flat. If you have kids, pets, or both, choose the surface you can clean on a Tuesday night without dragging out a ladder and a full emotional reset.
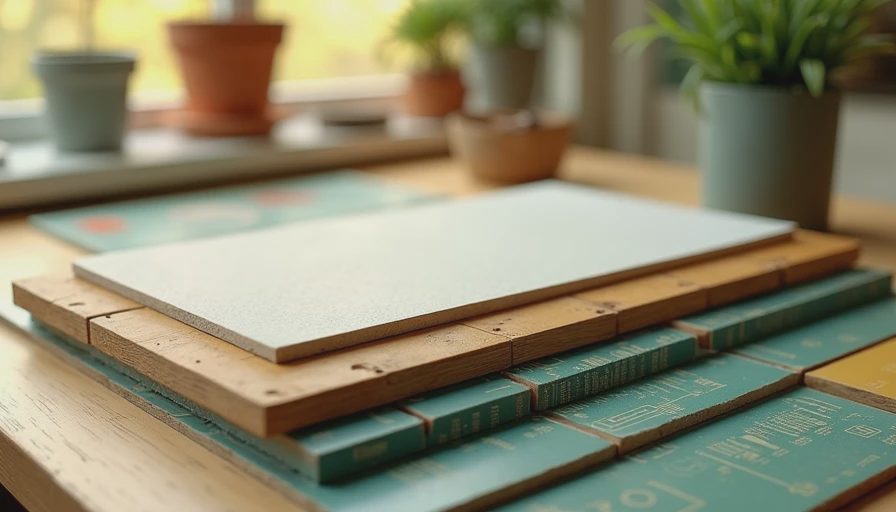
A simple formula for choosing the right wall materials
I use the same formula every time now: room moisture plus traffic plus repair access equals the right choice. Dry room, light traffic, easy access — standard drywall or preserved plaster usually wins. Wet room, frequent access, or future plumbing risk — choose materials you can open and patch without a big production. Pet zone or hallway — prioritize durability and cleanability over novelty.
If you want the shortest possible version, here it is. Spend where failure is expensive, save where damage is easy to fix, and do not buy a surface because it looks good under showroom lighting. That showroom lighting is a liar. Your house has daylight, shadows, corners, and one dog who ignores all design intent.
My final rule is simple: trust the tape, not your eye. Measure the room, inspect the old finish, estimate the next repair, then choose wall materials that fit the real use case instead of the fantasy version of the room. If you do that, the wall looks better longer, the repair bill stays smaller, and you stop having to explain to Tim why the “pretty” option was never actually the cheap one.