
A putty knife costs roughly $3 to $20, yet choosing the wrong one can turn a ten-minute patch into an hour of sanding. I learned this while repairing the dining room in my 1920s house. The wall had 14 nail holes, two loose paint flakes, and one previous owner’s ambitious attempt to conceal a cable. I bought a flexible putty knife because it looked useful. It bent like a credit card and left compound everywhere.
Tim watched me scrape the same spot three times. He did not say “I told you so,” which was worse. The problem was not the joint compound. It was matching the blade to the task. A narrow, flexible tool is excellent for filling a small hole. It is a poor choice for removing hardened paint. Trust the tape, not your eye — and read the measurements stamped on the tool before buying it.
What a Putty Knife Actually Does
A putty knife is a flat-bladed hand tool used to spread, fill, scrape, and smooth materials. Despite the name, it is not limited to window glazing. In an old house, the same basic tool can apply spackle, press wood filler into a dent, lift loose caulk, scrape paint, or clean debris from a corner before touch-up work.
The blade width controls your reach. A 1-inch putty knife gives you precision around a nail hole or inside a narrow trim joint. A 2-inch or 3-inch model covers small patches efficiently without becoming awkward. A 5-inch or 6-inch blade is better for broad skim coats and feathering compound across a shallow wall imperfection. I keep a 1.5-inch, 3-inch, and 6-inch set in the renovation drawer because those three sizes cover almost every minor repair I actually complete.
Blade flexibility matters just as much. A flexible stainless steel blade bends under light pressure and leaves a thinner layer of compound. A stiff blade stays flatter and applies more force, which is useful for scraping or pressing filler into damaged wood. The handle also affects control. A soft-grip plastic handle is comfortable for a few holes; a wider composite handle feels better when scraping an entire window ledge.
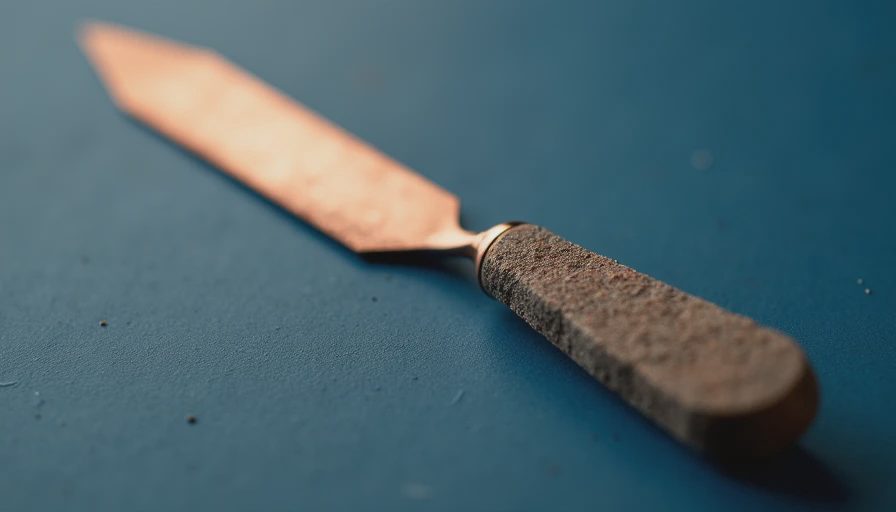
Flexible or Stiff: The Five-Minute Selection Test
Here is the system I use now. Hold the blade by its handle and press its edge lightly against a flat surface. If it flexes with gentle pressure, put it in the filling category. If it barely moves, put it in the scraping category. Do not buy the one tool that claims to do both jobs perfectly. That is how I ended up with a bent edge and a wall that looked as if a beaver had renovated it.
For drywall nail holes, choose a flexible 1-inch or 2-inch putty knife. Load a small amount of spackle, press it across the hole in two directions, and remove the excess with the blade nearly flat. The goal is to leave the hole filled and the surrounding wall clean. Sanding a large mound of dried compound is not a design feature.
For wood trim, a stiffer blade gives better pressure. Push wood filler across the defect, then draw the putty knife along the grain direction. On old painted trim, avoid levering hard against a fragile edge. If the paint is peeling, remove only what is already loose, then stabilize the area before filling it.
For scraping, select a rigid carbon steel or stainless steel blade with a comfortable handle. Hold it at a low angle and use controlled strokes. A sharp corner can gouge soft plaster, so test on an inconspicuous section first. My dog once contributed a scratch to the baseboard; the putty knife contributed three more because I rushed.
Material, Edge, and Price: Where the Budget Goes
Plastic blades usually cost $2 to $6 and work well for disposable jobs, such as spreading lightweight spackle or removing residue from a delicate surface. They are less durable and can flex unpredictably. A plastic putty knife is reasonable for a renter with one picture-hook hole, not necessarily for someone repairing six rooms in a 1920s house.
Stainless steel typically costs $5 to $15 for a single quality tool or $10 to $25 for a small set. It resists rust, wipes clean, and is the practical middle ground. Brands such as Hyde and Warner sell common sizes through hardware stores, while smaller flexible models from Anza or similar paint-tool lines can work well for light patching. The brand matters less than a straight edge, secure handle, and blade that matches the job.
Carbon steel can be very stiff and effective for scraping, but it needs drying after washing because rust is an avoidable expense. Look at the edge before paying. It should be straight, with no visible waves or burrs. Run a finger along the spine, not the sharp working edge. A warped blade will transfer its geometry directly onto your wall — a brutally efficient process.
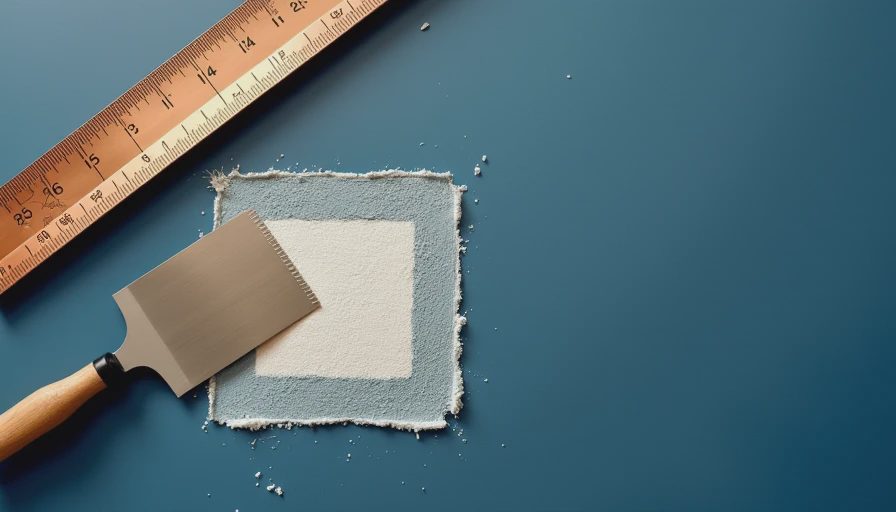
How to Use a Putty Knife Without Creating More Work
Start with a clean, dry surface. Remove dust, loose paint, and crumbs of old compound. If the hole is deep, fill it in thin layers instead of applying one thick blob. Let each layer dry according to the product instructions. Most small repairs need less material than beginners expect; excess compound creates a sanding problem and extends the project into a second weekend.
Hold the putty knife at approximately a 20- to 30-degree angle for spreading. Use moderate pressure on the forward stroke, then lift the blade gradually at the end. For feathering, widen each pass beyond the damaged area and reduce pressure as you move outward. Wipe the blade frequently on a damp rag. Dried compound on the edge behaves like a tiny hardened rock collection.
After drying, sand with fine-grit paper, usually around 180 to 220 grit for a small wall repair. Shine a work light across the surface rather than pointing it directly at the patch. Side lighting reveals ridges your normal room lighting hides. I learned this after painting a hallway and discovering 11 visible repair halos at 7:30 p.m.
My Three-Tool Repair Kit
For a practical kit, start with a 1-inch flexible putty knife for nail holes, corner work, and small amounts of spackle. Add a 3-inch medium-flex blade for dents, trim repairs, and general filling. Finish with a 6-inch stiff knife for feathering compound over broader damage. The total cost can stay under $25, which is less than one service call for a minor cosmetic repair in many areas.
Add a sanding sponge, a damp rag, lightweight spackle, and paintable acrylic caulk. Store the tools dry and avoid leaving compound on the blades overnight. If rust appears, remove it with a wire brush or fine abrasive pad, then dry the tool completely. Replace a putty knife when the edge is permanently bent, the handle is loose, or the blade leaves repeated ridges after your technique is sound.
The five-minute rule applies here. If you are standing in the hardware aisle comparing two nearly identical tools, buy the one with the straightest edge and the size that matches your most common repair. Do not pay for a ten-piece set unless you have a specific use for the extra widths. More tools do not automatically mean better walls.
The Repeatable Formula
Measure the damaged area, select a blade slightly wider than the repair, and match flexibility to the material. Flexible handles filling; stiff handles scraping and firm application. Apply less compound than feels necessary, feather the edges, let it dry, and inspect with side lighting before sanding. That sequence prevents most beginner mistakes and keeps a $5 repair from becoming a $50 repair.
My final recommendation is simple: buy a good stainless steel putty knife in the 1-inch to 3-inch range first, then add a wider stiff model when your projects demand it. The tool is small, inexpensive, and unglamorous — exactly the kind of purchase that deserves a measurement instead of a mood. Trust the tape, not your eye.