I once installed a floating shelf exactly where my eye said it should go. The eye was wrong by 3 inches, the shelf leaned like it had been drinking, and Tim asked the question he saves for my most confident mistakes: “Did you check the wall?” Learning how to use a stud finder would have cost less than the replacement anchors, patching compound, and one very irritated Saturday.
A stud finder locates the framing behind drywall so you can attach heavy items to something structural instead of asking a plastic anchor to perform a job it was never designed to do. The basic process is simple: understand the tool, scan slowly, mark the edges, and verify before drilling. Trust the tape, not your eye.
Choose the right stud finder for the wall
Most home projects use one of three types. A magnetic stud finder detects the metal screws or nails holding drywall to the wood framing. It is inexpensive, requires no batteries, and works well when you move it slowly across a wall. It does not identify the center of the stud directly; it identifies fasteners, usually positioned along the stud.
An electronic edge finder senses changes in wall density. It can indicate the left and right edges of a stud, allowing you to mark the center between them. These models commonly cost $15 to $40 at hardware stores. A more advanced multi-scanner can detect wood, metal, and sometimes live AC wiring, often for $40 to $100. More features do not automatically mean better results on an old, uneven wall.
Plaster, lath, thick tile, foil-backed insulation, and textured surfaces can confuse electronic sensors. In my 1920s house, one wall contains enough irregular material to make a budget scanner beep with the enthusiasm of a smoke alarm. For those walls, combine the tool with measurements, tapping, visible clues, and a small verification hole in a low-risk location.
How to use a stud finder step by step
Start by removing nearby pictures, hooks, or furniture that could interfere with the scan. Check the instructions for your model, then turn it on away from the wall if the manufacturer recommends that calibration method. Place it flat against the surface and calibrate it where you expect there is no stud. Do not drag it at an angle; the sensor needs consistent contact.
Move the finder horizontally across the wall at a slow, steady speed. One inch per second is a reasonable working pace. When the signal begins, stop and mark the edge with a pencil. Continue past the strongest signal until it fades, then mark the second edge. The center of the two marks is your working point. This edge-to-edge method is more reliable than drilling at the first beep.
If you are using a magnetic model, slide it until you feel a pull. Mark that point, then test several inches above and below it. Fasteners should line up vertically. If one magnetic hit appears alone, it could be a stray screw rather than a framing member.
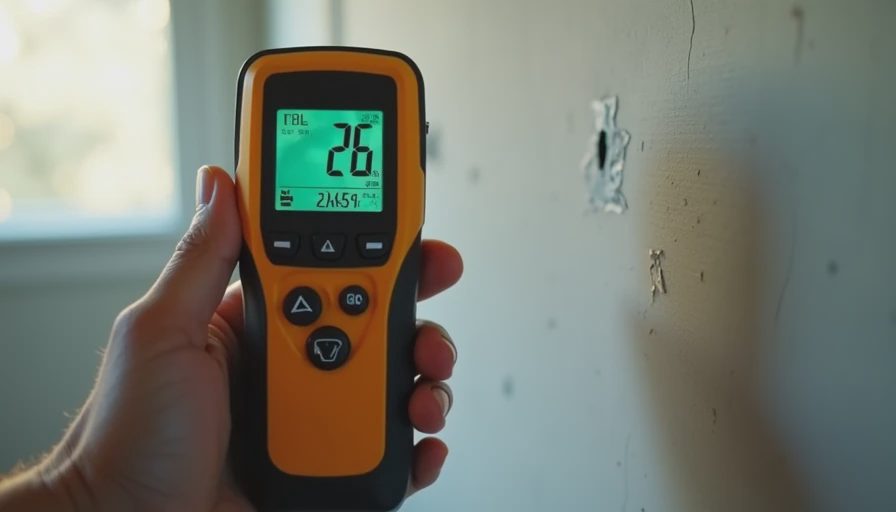
Repeat the scan from a second height. A stud should produce a consistent result, although old framing is not always perfectly straight. Mark the center with a small pencil cross rather than a large circle. Your future self will thank you when the shelf is installed and the wall needs no cosmetic repair.
Verify the location before drilling
Learning how to use a stud finder is only half the job. The other half is checking what else may be inside the wall. Electrical cables, plumbing, gas lines, and old wiring can run through framing. A scanner with an AC detection mode is useful, but it is not a guarantee. Keep your hole shallow until you understand the construction, and never force a drill through unexpected resistance.
Look for outlets and switches. Their electrical boxes are often attached to a stud, so the framing may be immediately to one side. Plumbing fixtures can suggest water lines behind the wall. In older homes, wiring routes may be less predictable than modern construction, particularly around additions and remodeled rooms.
For a small picture under 10 pounds, a correctly sized picture hook may be sufficient. For a 40-pound cabinet, rail, or shelf loaded with books, plan to hit studs or use a mounting system designed for the wall type. A stud supports the screw; drywall alone supports only what its anchor rating and condition allow.
Use stud spacing to find the next one
Once you confirm one stud, measure horizontally to locate the next. Modern wood framing is commonly spaced 16 inches on center, meaning the center of one stud is 16 inches from the center of the next. Some walls use 24-inch spacing, while older houses can have irregular layouts, especially around windows, doors, corners, and repairs.
Use the measurement as a prediction, not proof. I once measured from a corner, marked 16 inches, and found a patch of drywall instead of wood. The corner had been furred out during a renovation, changing the reference point. This is why how to use a stud finder includes scanning every planned attachment point, even when the math looks perfect.
For a long shelf, mark each stud along its route. A 48-inch shelf may cross three studs, or it may land between them depending on the wall. If the bracket spacing does not match the framing, shift the shelf slightly or use a rated mounting rail. A 2-inch design adjustment is cheaper than a sagging shelf and the ceramic vase that falls from it.
Avoid the common installation mistakes
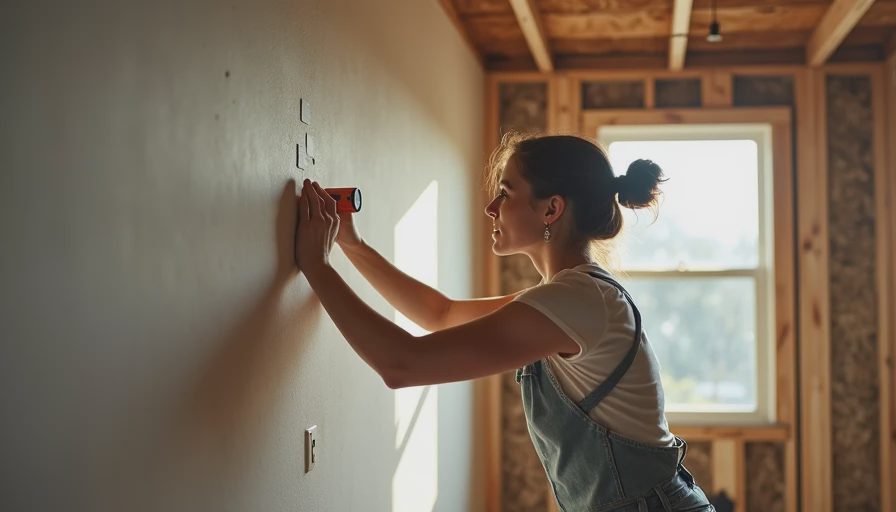
The first mistake is scanning only once. Dust, wallpaper, uneven plaster, and the operator’s hand pressure can change a reading. Scan in both directions and at more than one height. The second mistake is assuming the loudest beep equals the center. On an edge-sensing model, it usually indicates a boundary, so mark both boundaries and split the distance.
The third mistake is relying on a stud finder over thick tile or paneling without checking the tool’s limits. You may need a longer screw, a different scanner, or an alternate mounting plan. The fourth is using a screw that is too long. A screw must pass through the bracket and wall finish, then enter the stud far enough to hold securely—but extra length increases the chance of contacting hidden utilities.
The fifth mistake is skipping the load calculation. Add the item’s weight to the contents it will hold. A 12-pound shelf carrying 30 pounds of books is a 42-pound installation, not a 12-pound one. Choose brackets and fasteners with a suitable margin, and follow the hardware manufacturer’s rating rather than trusting a package photo.
A five-minute wall-checking formula
Here is the repeatable system I use now. First, identify the wall material and select a magnetic or electronic tool that suits it. Second, calibrate flat against the wall. Third, scan slowly and mark both edges. Fourth, confirm the center with a second pass at another height. Fifth, inspect nearby outlets, switches, plumbing fixtures, and warning signals before drilling. Sixth, measure the item’s total loaded weight and choose hardware for that number.
If the result still seems suspicious, stop. Make a tiny test hole in an inconspicuous spot, use a thin probe, or move the mounting location. Patching a pencil-sized hole costs a few cents; repairing a damaged wire or pipe can cost hundreds of dollars and consume the weekend you had reserved for sitting down.
Learning how to use a stud finder is not about trusting a gadget blindly. It is about combining the reading with wall construction, measurements, and a safety check. That process takes five to ten minutes and prevents crooked shelves, failed anchors, and expensive surprises. My rule is simple: how to use a stud finder starts with the tool, but it ends with verification. Trust the tape, not your eye.