
I once bought a coping saw for a baseboard project because the package looked reassuringly simple. Three hours later, I had a crooked cut, one damaged molding strip, and a strong opinion about reading the label before opening the wallet. That failure sent me into a practical study of types of saws — not as a collector, but as a homeowner with uneven walls, old trim, and a budget that prefers lumber over gadgets.
The useful question is not which saw looks most professional. It is which tool matches the material, cut, workspace, and finish you need. A $30 hand saw can outperform a $180 powered tool when the job is small and the cut is visible. Trust the tape, not your eye; then trust the blade chart.
The main types of saws and what they actually do
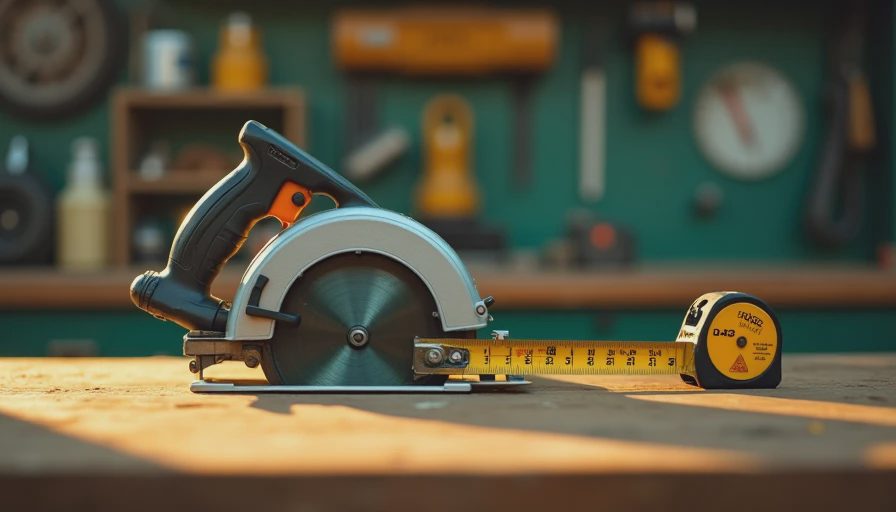
A circular saw is the workhorse for straight cuts in plywood, framing lumber, shelving, and decking. Its rotating blade removes material quickly, and a guide or straightedge makes the cut predictable. A standard 7 1/4-inch model is enough for most homeowner projects, including cutting 2-by-4s and sheet goods. Expect to spend roughly $60 to $150 for a corded model, or more for a cordless version with a battery and charger.
A miter saw is built for crosscuts and angled cuts. It is especially useful for baseboards, door casing, picture-frame trim, and repeated pieces. A 10-inch model handles common trim sizes without taking up the footprint of a full table saw. The limitation is length: it cuts boards across their width, not long rip cuts down a sheet.
A jigsaw follows curves and makes interior cutouts. Use it for sink openings, rounded shelves, notched panels, and decorative shapes. It is not the tool for producing a perfectly straight six-foot edge unless you also use a guide and patience. These types of saws become much more useful when paired with the correct blade — fine teeth for cleaner wood cuts, coarse teeth for speed, and specialized blades for metal or laminate.

Hand saws still earn their drawer space
Hand tools are slower, quieter, and often more accurate for one-off repairs. A crosscut hand saw cuts across wood grain, while a rip saw is designed to cut along the grain. Most modern homeowner saws use tooth patterns that handle both jobs reasonably well, which is convenient but less specialized.
A backsaw has a stiffened upper edge that helps keep the blade straight. A tenon saw is a heavier backsaw for joinery, while a dovetail saw has a finer blade for small, controlled cuts. You do not need a dovetail saw to install a shelf, but you might appreciate one when repairing old furniture or replacing a short section of trim.
A coping saw removes waste from curves and inside corners. It is inexpensive — commonly $15 to $30 — and particularly useful when two pieces of baseboard meet at an irregular corner. Instead of relying on a perfect miter in an old house, you can cope one piece against the profile of the other. That small technique often hides wall movement better than filling a large, obvious gap with caulk.
Choosing a saw by project, not by fantasy renovation
For a floating shelf, start with a circular saw if you need to break down plywood, then use a sander for the exposed edge. For replacement baseboard, a miter saw gives repeatable angles, but a coping saw can produce a better inside corner. For a small picture ledge, a hand saw and a miter box may be enough — approximately $25 for the box and saw compared with $200 or more for a powered setup.
The types of saws that make sense for a kitchen project are different from those needed for furniture repair. A jigsaw handles a countertop opening, but its blade can wander in thick material. A circular saw with a fine-tooth blade makes long straight cuts, but it needs clearance and a stable support surface. A table saw offers excellent repeatability for ripping boards, though it requires more room, setup discipline, and respect for kickback.
My rule is simple: if the cut is long and straight, think circular saw; if it is repeated and angled, think miter saw; if it curves or starts inside a panel, think jigsaw; if it is tiny, quiet, or highly visible, consider a hand saw.
Blade selection controls the finish
The saw body gets attention, but the blade determines much of the result. Tooth count is the first practical variable. A coarse blade removes material quickly and works well for framing, but it can splinter trim. A fine-tooth blade gives cleaner edges in plywood and finish lumber, although it cuts more slowly and can overheat if forced.
For a circular saw, a combination blade is a reasonable starting point for general woodwork. For painted baseboard or veneered plywood, choose a blade marketed for fine finish cuts. In a jigsaw, down-cutting blades can reduce visible splintering on the top face, while up-cutting blades usually clear chips efficiently. Test on scrap first — five minutes of testing is cheaper than replacing an $18 board.
The types of saws in your garage do not matter much if every blade is dull. A dull blade requires extra pressure, creates heat, and increases the chance of wandering. Mark the waste side of the line, support the work near the cut, and let the teeth remove material at their intended speed.
Safety and setup for an old-house workspace
Old houses create awkward work conditions: uneven floors, narrow rooms, mystery nails, and wiring that does not follow modern logic. Before cutting, inspect the material with a stud finder or metal detector when appropriate. Never assume a salvaged board is nail-free. Remove fasteners or cut around them; striking hidden metal can damage teeth and send fragments in unpredictable directions.
Wear eye protection for every powered cut. Hearing protection is sensible around circular, miter, and table saws. Clamp the board instead of holding a short piece by hand, keep the cord away from the blade path, and wait for a powered blade to stop before setting the tool down. A dust mask or respirator suited to the material is important when cutting painted surfaces, composite board, or dusty lumber.
For a miter saw, keep hands well outside the manufacturer’s marked danger zone. For a circular saw, support both sides of the cut so the kerf does not pinch the blade. When using a jigsaw, secure the panel and check beneath it for sawhorses, flooring, or electrical lines. Safety is not decorative advice; it is how the project remains a $75 repair instead of becoming a medical bill.
The budget-friendly starter setup
If I were setting up a first renovation toolbox today, I would buy one quality combination hand saw, a coping saw, a jigsaw, and a circular saw with a straightedge guide. That combination covers most trim repairs, shelves, plywood breakdown, and simple furniture work without requiring a dedicated shop. Add a miter saw only after repeated angled cuts justify its footprint.
The types of saws worth buying should match your storage and project schedule. A cordless platform is convenient if you already own compatible batteries, but starting from zero can turn a $100 tool into a $250 purchase. Corded tools cost less upfront and do not need charging, although the cord becomes another trip hazard in a crowded room.
Budget $25 to $40 for blades, $20 for clamps, and $15 to $30 for a basic straightedge or cutting guide. Those accessories often improve results more than upgrading from an entry-level saw to a premium model. Store blades dry, keep guards clean, and label specialty blades so the next project does not begin with ten minutes of guessing.
A five-minute decision formula
Before buying anything, write down four measurements: material thickness, cut length, cut shape, and acceptable finish quality. Then match the job to the tool. Thick lumber and long straight cuts point toward a circular saw. Repeated crosscuts point toward a miter saw. Curves and openings point toward a jigsaw. Short, delicate, low-noise work points toward a hand saw.
This formula prevents the common mistake of buying a tool for an imaginary future workshop. The best types of saws are the ones that solve the project in front of you without consuming half the garage. Borrow a specialized tool for one afternoon, rent a table saw for a large batch, and spend your saved money on straight boards and decent paint.
I still occasionally stand in a hardware aisle too long. Tim calls it analysis; I call it risk control. Either way, the system works: measure the material, identify the cut, select the blade, secure the work, and buy only the capacity you can explain. Trust the tape, not your eye.