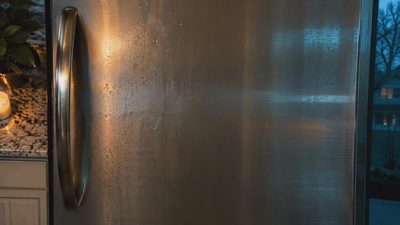
I spent $312 correcting a wall treatment that looked perfect in a showroom and terrible beside my 1920s trim. The issue was not color. It was scale, lighting, and one very obvious seam. Wall textures are useful, but only when selected for the wall you actually have — not the flat sample board under perfect retail lighting. I now measure the surface, test a 24-inch section, and calculate the repair cost before ordering anything.
Start with the wall, not the catalog
Old houses rarely offer a clean rectangle. Plaster can ripple, drywall can show taped joints, and previous owners may have applied three layers of paint over one questionable wallpaper border. Run a 24-inch level across the wall in several directions. A gap larger than 1/8 inch indicates that texture will be working as camouflage, not decoration.
That distinction matters. Light texture can soften minor dents, while a deep pattern can make a crooked wall look busier. If the wall has active cracks, moisture stains, loose plaster, or a soft spot, fix the underlying problem first. Texture is not structural repair. Tim, who is a civil engineer and therefore legally obligated to question every shortcut I suggest, reminded me that covering movement does not stop movement. He was right. I was annoyed for approximately six minutes.
For a typical 12-by-14-foot room, you have roughly 364 square feet of wall area before subtracting doors and windows. That number helps establish a real budget. A skim coat might run $1 to $3 per square foot with professional labor, while a specialty plaster finish can reach $8 to $15 per square foot. DIY materials cost less, but your time is still a line item.
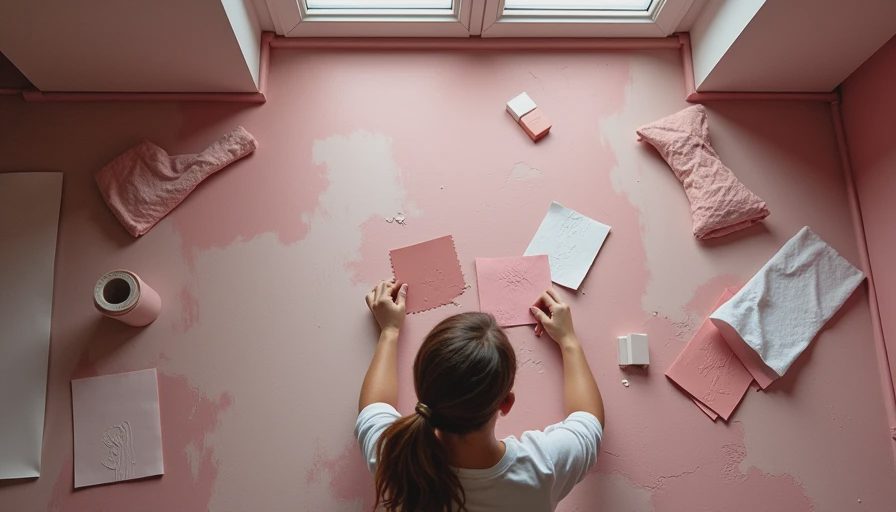
Four useful categories of wall textures
Orange peel is the practical base model. It has a fine, sprayed grain, hides minor drywall imperfections, and is common in newer construction. Matching an existing orange peel surface is usually easier than removing it. Knockdown texture has larger flattened ridges and creates more visible shadow. It works well in casual living spaces, though patching one damaged area can be difficult without blending the edges.
Skip trowel finishes use irregular hand-applied marks. They suit older homes because the variation feels intentional rather than factory-perfect. Venetian plaster and similar polished finishes are denser, smoother, and more expensive. They can provide depth without a rough surface, but they require controlled preparation and usually look best on a feature wall rather than all four walls.
Textured wallpaper is the flexible middle option. Grasscloth, beadboard-look panels, and paintable embossed paper can add pattern without committing to permanent plaster. Prices commonly range from $1 to $6 per square foot before installation. The trade-off is seam visibility and future removal. I once chose a paper with a raised geometric pattern, then discovered that every seam aligned with the afternoon sun. The wall looked like a spreadsheet with bad formatting.
Match the finish to the room
In a hallway, moderate wall textures can disguise scuffs and small dents from coats, bags, and dog traffic. A matte finish is usually more forgiving than satin because it reflects less directional light. In a bedroom, a fine plaster or subtle paper can add softness without creating a visual obstacle behind the bed.
Kitchens and bathrooms need more caution. Steam, grease, and frequent cleaning can damage porous finishes. Use a sealed surface near a sink or cooktop, and keep highly absorbent materials away from direct splash zones. A textured wall behind a range may look dramatic in a photograph, but cleaning tomato sauce out of recessed grooves is not a hobby I recommend.
Pet owners should also measure the height of likely contact. My dog can reach about 30 inches when standing against a wall, which means the lower portion beside the entry bench receives more abuse than the upper two-thirds. I use washable paint over a shallow, sealed finish in that zone. Deep grooves collect hair and make a five-minute wipe-down into a twenty-minute brush exercise.
Calculate installation before choosing a look
The material price is only one part of the project. Add primer, joint compound, sanding supplies, drop cloths, caulk, paint, and at least 10 percent extra for waste. A $180 roll of wallpaper can become a $350 project once you include paste, matching waste, and a professional installation fee. Specialty plaster has a similar surprise factor because preparation often takes longer than application.
For DIY work, budget two evenings for a modest accent wall: one for cleaning and repairs, one for application and drying. Add a third session for sanding or a second coat if the finish requires it. Test the product under morning, afternoon, and evening light. Wall textures change dramatically when a lamp sits low against the surface, and that is precisely where a living-room lamp tends to sit.
I use a simple decision formula: total project cost divided by usable visual years. If a $600 finish should last ten years, that is $60 per year. If a $220 removable paper is likely to be replaced after three years, its annual cost is about $73. The cheaper receipt is not always the cheaper choice.
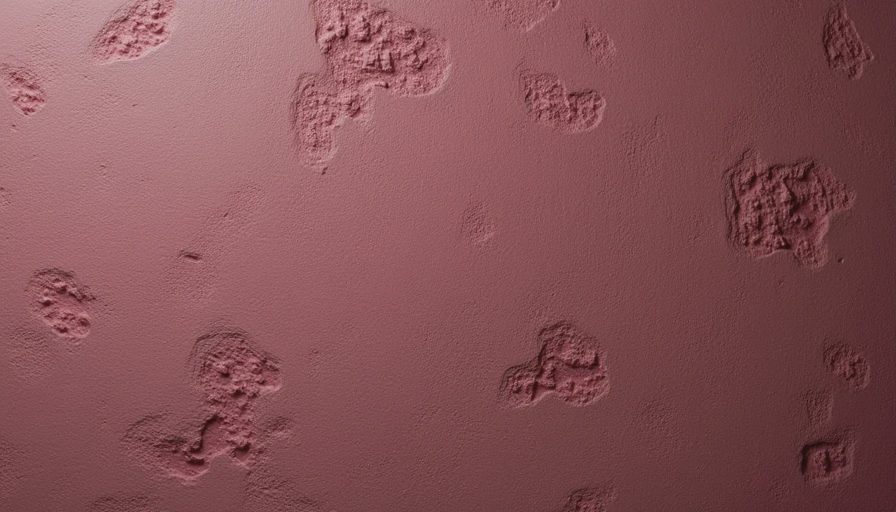
Repair strategy matters more than confidence
Before applying any product, wash the wall, remove loose paint, fill nail holes, and sand glossy areas. Prime patched sections so they do not absorb material at a different rate. For wallpaper, draw a plumb line rather than trusting a corner; old corners are frequently out of square. For wet finishes, mix only the amount you can apply during the product's working time.
Keep one labeled sample board from the project. Write the product name, color, batch number, and application tool on the back. This sounds excessive until a moving chair damages the wall two years later and the original product has been discontinued. A sample also lets you test touch-up paint without creating a second problem.
If you are matching existing wall textures, photograph the surface with a ruler beside it. Note the ridge height, spacing, sheen, and color. A contractor can reproduce a pattern more accurately from measurements than from the sentence “make it look like the other wall.” Trust the tape, not your eye.
My measured recommendation
For a pre-1980 house with uneven drywall, a dog, and a limited renovation budget, I would choose a fine skip trowel or shallow embossed wallpaper on one high-visibility wall. Keep the remaining surfaces smooth or lightly textured so the room does not become visually loud. Seal the lower 30 inches near entry points, avoid porous finishes beside plumbing, and reserve polished plaster for a smaller area where preparation costs are easier to control.
The final test is practical: stand six feet away, then two feet away, with the room lights on. Look for repeating seams, shadows, and areas that catch hair. Calculate square footage, materials, labor, and likely maintenance before placing the order. Wall textures should solve a measurable problem — uneven plaster, flat lighting, or a dull focal point — rather than create another expensive decision.
My formula is simple: measure the wall, test the finish, price the whole job, and inspect it at the worst possible angle. If it still works there, it is probably a sound choice. Trust the tape, not your eye.