If you're planning to install bathroom upgrades in your own home, here's the first number you need: the national average for a full bathroom remodel runs between $10,000 and $25,000. That range is wide because the decisions you make before you swing a hammer set the price. I've renovated three old houses, and I've made mistakes. I once installed a toilet flange a half-inch too high, which made the toilet wobble. I had to chisel it out and start again. The fix cost me $60 and three miserable evenings. My first rule: trust the tape, not your eye.
What a Bathroom Install Really Costs
Let's talk real numbers. In my last Columbus renovation, I budgeted $12,000 for a 5x8 bathroom and closed at $13,450. The overrun came from a $900 faucet I didn't need and a vent stack move. When you install bathroom plumbing, the permit alone costs $150 to $300, and a plumber's rough-in runs $1,800 to $3,500. Materials add up: water-resistant drywall at $20 a sheet, tile at $2 to $10 a square foot, a pre-sloped shower pan around $300, and a quiet exhaust fan at $120. Don't forget fittings, tape, and overages. I add a 15% buffer to my spreadsheet. When you install bathroom fixtures, labor is only half the story. The other half is the work behind the drywall.
The Order of Operations: Where Most DIYers Mess Up
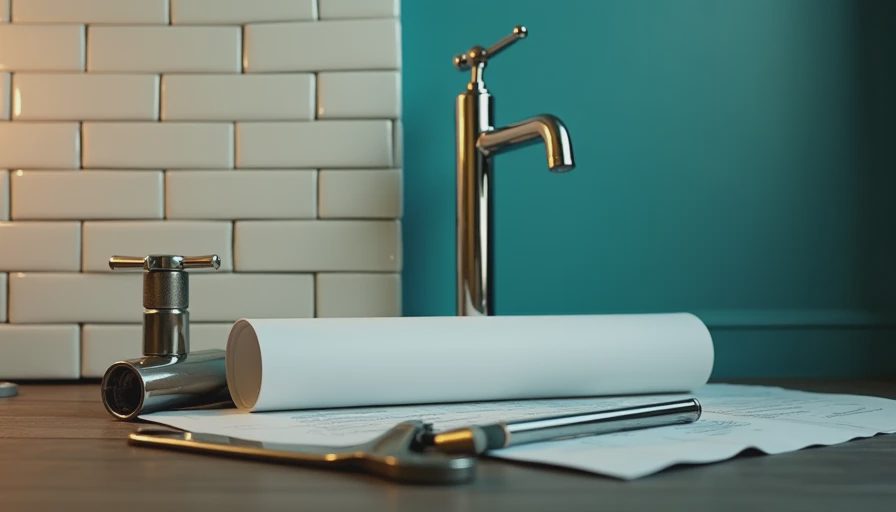
The sequence matters. Here's the order I follow after learning the hard way: rough plumbing, shower pan, drywall, tile, fixtures, finishes. Most people want to install bathroom tile before the plumbing has been pressure-tested, which is a recipe for cutting out good tile to reach a leak. I skipped the venting test once and ended up with a sewer smell that took weeks to trace. The plumber charged $250 just to find it.
Also, don't paint behind the vanity before it's set in place; you'll patch nail holes before the paint cures. When you install bathroom mirrors or grab bars, use your stud finder and a level. If the drill spins free, you're not in a stud — stop and find another spot. Doing things in the right order feels slower, but it's the fastest way to a bathroom that doesn't need a redo.
Trust the Tape: Measuring for Fixtures and Finishes
Your tape measure is your best friend. The standard rough opening for a vanity is 34 inches wide, but that assumes a plumb stud bay. A toilet needs 30 inches of clearance from the centerline to the wall; measure three times because old walls are never straight. When you install bathroom lighting, sconces sit about 66 inches from the finished floor. A shower curtain rod equals the tub width, not the ceiling height, with an inch of overlap per bracket. For a medicine cabinet, hold it up and swing the door open before you screw anything. I also trace the swing paths of the vanity and shower doors so they don't collide. Every time I skip this step, I pay for it. The fix: mark measurements on painter's tape and check against the specs before ordering.
Where to Spend and Where to Save
Spend your money on things that are hard to fix later: water-resistant drywall, a quality shower valve, a quiet exhaust fan rated for your square footage, and a proper waterproofing membrane under the tile. Save on things that are easy to swap later: mirrors, shower curtains, faucets in standard finishes, and decorative hardware. If you're handy, you can install bathroom fixtures yourself and keep the labor savings.

A fill valve costs $20 and takes fifteen minutes. A shutoff valve costs $15 and requires a wrench and plumber's tape. Never skimp on what's hidden behind walls. A cheap PVC joint will leak, and finding it means opening your tile. We used a $150 Delta valve and a $120 Panasonic fan in our last install, and both have been rock solid. You don't need a $1,000 faucet, but you do need a $150 mixing valve.
Permits, Codes, and Old-House Surprises
I get why people skip permits; they're boring and cost $150 to $300. But an unpermitted bathroom is a headache for the next homeowner, or an insurance claim when a leak finds a floor joint. When you install bathroom plumbing, most jurisdictions require a permit for anything that ties into the main drain. New circuits and outlet placement need an electrical inspection, and every outlet near water needs GFCI. In my 1920s house, I found an unanchored junction box; fixing it cost $200. If your house was built before 1980, check for galvanized pipe and replace any corroded sections before they become emergencies. Never install bathroom tile over a subfloor that slopes more than a quarter-inch in five feet. Use a $50-per-bag self-leveling compound and check with a four-foot level before setting tile.
The 5-Minute Rule for Finishes
Finally, the aesthetic decisions. Decision paralysis is real; I once spent 45 minutes in Home Depot comparing trash can colors and left empty-handed. So I made a rule: if you can't choose between two countertop colors in five minutes, buy the white one. White goes with everything and hides water spots better than black. For grout, choose medium gray instead of pure white unless you love scrubbing. When you attach towel bars, use studs and a level; a crooked bar ruins an otherwise clean bathroom. A $75 bidet attachment pays for itself in a year in toilet paper savings. The goal is a bathroom that works as a system, not a magazine photo. Measure, budget, and sequence each step, and you'll install bathroom upgrades that save money and last decades. And remember: trust the tape, not your eye.




No comments yet — grab the first one.