
Stucco painting looks simple until you stand six feet from the wall and notice 14 hairline cracks, three patched areas, and one suspiciously damp corner. I learned this the expensive way on my 1920s house. I bought enough paint for the measured wall area, then discovered the rough surface absorbed far more product than the label suggested. The color was fine. My calculation was not. Stucco painting rewards preparation more than optimism, so here is the system I use now.
Start with the wall, not the color card
Before choosing a shade, determine what the stucco is doing. Walk the entire exterior with a flashlight held parallel to the surface. Low-angle light exposes ridges, open cracks, patched sections, and areas where the finish has begun to powder. Press a clean palm against several locations. A small amount of dust is common on aging masonry, but a heavy chalky film means the surface needs cleaning and possibly a stabilizing masonry primer.
Look for moisture before you seal anything. Dark patches below windows, blistering paint, soft trim, or staining near gutters can point to leaks rather than a cosmetic problem. Painting over wet stucco traps the problem behind a new film. Tim, who is a civil engineer and therefore professionally suspicious of every quick fix, calls this “putting a raincoat on a wet dog.” He is correct. Repair the source first — usually a gutter, flashing detail, failed caulk joint, or grading issue.
Measure each wall separately. Multiply width by average height, subtract large openings, and add 10% to 20% for texture and waste. A smooth wall may need close to the labeled coverage rate; heavily textured stucco can consume considerably more. A 1,500-square-foot exterior footprint does not automatically equal 1,500 square feet of paintable surface. Gables, returns, trim, and porch walls make the final number larger.
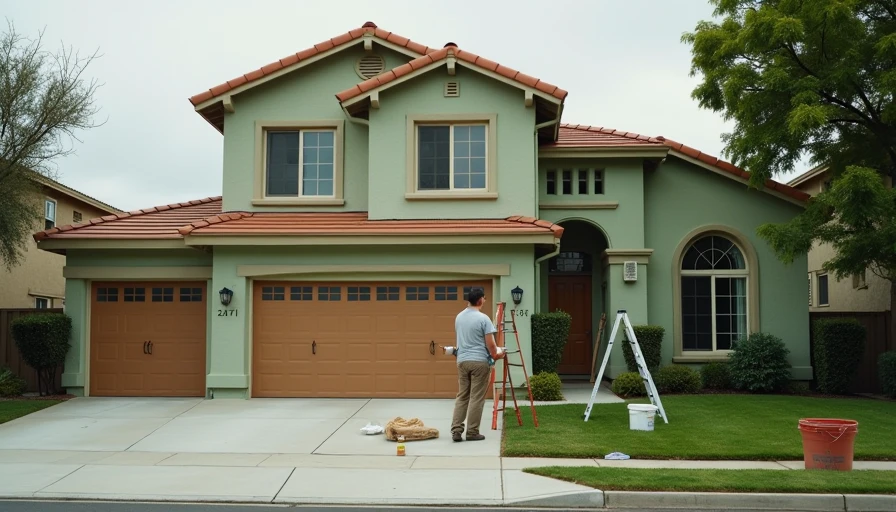
Choose the right coating for the substrate
The safest general direction for stucco painting is a breathable, exterior-rated acrylic masonry coating. Breathability matters because stucco can contain and release small amounts of moisture. A coating that forms an overly rigid or impermeable film can trap water, leading to peeling, bubbling, and premature failure. Elastomeric coatings can bridge some hairline cracks, but they are not a substitute for repairing larger cracks or fixing water intrusion.
Read the technical label instead of shopping by color alone. Look for exterior masonry compatibility, the recommended primer, recoat timing, temperature limits, and cleanup instructions. Products from brands such as Sherwin-Williams, Benjamin Moore, and Behr offer exterior masonry options, but the exact product line matters more than the logo. A standard exterior house paint is not automatically the best choice for a porous stucco wall.
Color affects maintenance. Very dark colors absorb more solar heat and can place additional stress on the coating, especially on sunny elevations. Very pale colors show dirt around windows and doors. My practical range is a medium-light neutral with enough contrast against trim to hide ordinary dust. I tested three sample patches and watched them from morning through late afternoon. The beige that looked calm at 9 a.m. turned pink beside the brick by 4 p.m.
Preparation is where the budget is won
Good stucco painting begins with cleaning, but pressure washing requires restraint. A powerful stream held too close can damage the texture, widen cracks, or force water into vulnerable joints. Use a moderate setting, keep the wand moving, and allow the wall to dry thoroughly. In many cases, a soft brush, garden hose, and appropriate exterior cleaner are safer than maximum pressure.
After cleaning, scrape loose coating and remove dust from cracks. Small stable hairline cracks can often receive a compatible masonry filler. Wider cracks, recurring cracks, stair-step cracks, and cracks around openings deserve closer inspection because movement or structural shifting may be involved. Do not fill an active joint with a rigid product and assume the problem has disappeared. The wall will provide a review in the form of a fresh crack.
Mask windows, doors, lights, hose bibs, and landscaping. Cover soil and plants, but do not leave plastic against vegetation in hot weather. Remove downspouts where practical so you can coat behind them, and label each piece before storage. My first house taught me that “I will remember where this bracket goes” is not a reliable inventory system.
What stucco painting usually costs
For a professional project, stucco painting often lands around $2 to $6 per square foot of paintable exterior surface, with difficult access, extensive repairs, or tall scaffolding pushing the total higher. A modest single-story home might run roughly $3,000 to $8,000, while a larger two-story house with repairs can pass $10,000. These are planning ranges, not bids; local labor, wall condition, and coating selection control the final invoice.
A do-it-yourself project can reduce labor substantially, but the equipment and time are real costs. Paint, primer, filler, masking materials, brushes, rollers, an extension pole, and a sprayer can total $800 to $2,500 depending on the project size. A sprayer is fast on open walls but requires careful masking and back-rolling to work coating into the texture. Rolling is slower, but it gives a newer DIY painter more control around windows and corners.
Ask contractors whether the estimate includes crack repairs, washing, primer, two finish coats, trim, minor caulking, and cleanup. An estimate that says “paint exterior” without defining preparation is not a comparable number. Get at least two written scopes. The cheapest bid frequently becomes less cheap after the first change order.
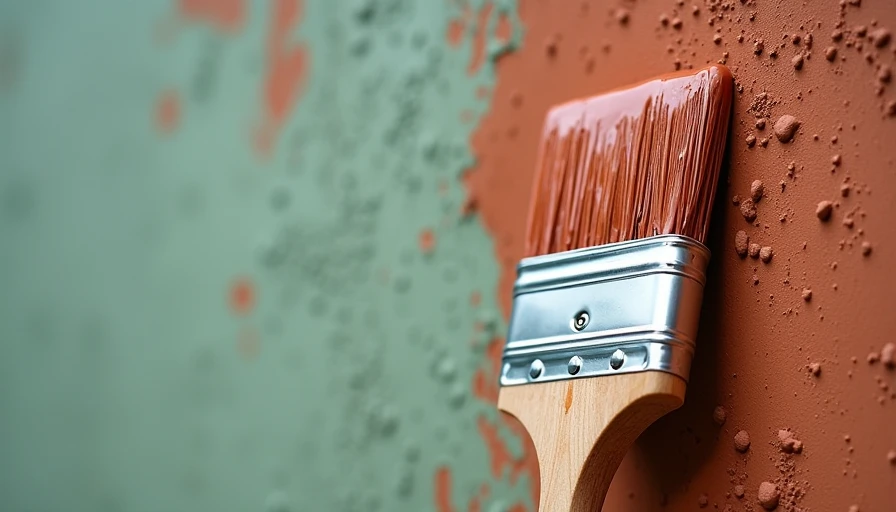
A practical application sequence
Apply coating only within the product’s temperature and weather window. Avoid a wall that is hot from direct afternoon sun, and avoid painting when rain is likely before the required cure time. Start at the top and work in manageable sections so wet edges stay connected. Keep a consistent pressure on the roller; pressing harder does not improve coverage, it simply creates thin spots beside raised texture.
A back-roll pass is useful after spraying because it distributes coating into recesses. For a roller application, use the nap recommended for masonry texture. Test a small section first and inspect it after drying. Wet paint hides holidays — missed areas that become obvious once the wall cures. Keep a small container of labeled leftover coating for later touch-ups, rather than assuming the paint store can reproduce the exact mixture years later.
Pay special attention to transitions: under eaves, around windows, behind downspouts, at the foundation line, and where stucco meets wood trim. Those details receive less sun and more moisture, so they often fail first. Do not rush the second coat. The first layer needs to cure according to the label, not according to the moment when the wall feels dry to one fingertip.
How to judge the finished work
Good stucco painting should look consistent from several angles, not merely from the driveway. Walk the walls at sunrise and late afternoon. Check for thin coverage, lap marks, overspray, unfilled cracks, and paint on flashing or hardware. Look from the street because broad color variation can disappear up close and become obvious at a distance.
The finish should preserve the character of the texture rather than bury every feature under excessive product. It should also shed ordinary rain without creating new peeling or bubbling. Keep the product name, color formula, batch information, application date, and leftover quantity in a house folder. That five-minute record can save hours when a window trim repair requires a touch-up two years later.
My final stucco painting formula is straightforward: inspect first, measure by wall, repair moisture, clean gently, prime when the surface requires it, and buy coating for texture rather than wishful label coverage. Add labor, access, and repairs before comparing bids. The color decision is the last step, not the first. Trust the tape, not your eye.