How to Install Screws and Anchors in Walls: A Step-by-Step Guide
I spent 45 minutes staring at a wall of anchor packages in the hardware aisle before I actually installed anything. If you're trying to figure out how to install screws and anchors in walls, you're not alone. My first attempt left me with three ruined anchors, a crooked screw, and a hole in the drywall I had to patch. Since then, I've developed a sequence that works on modern drywall, old plaster, and even the weird brownboard in my 1950s addition.
Step 1: Know What Your Wall Is Made Of
The right anchor starts with the right diagnosis. Push a thumbtack into the wall near the baseboard. If it slides in easily, you have drywall. If it barely dents under pressure, that's plaster over lath, which is standard in houses built before 1950. Tap the wall lightly. Drywall sounds hollow and a bit tinny. Plaster sounds dull and final.
Plaster is harder and denser than drywall, which sounds like a good thing until you oversize the drill bit. I once cracked a plaster wall in my bathroom because I used a wood bit at full speed. Plaster needs a masonry bit and a slow, patient trigger finger. Drywall needs a sharp bit and barely more pressure than a handshake. Matching the anchor to the wall is half the battle.
Step 2: Weigh the Thing You Want to Hang
Before you buy anchors, know the actual weight of what you're hanging. A floating shelf for paperback books weighs about 8 pounds loaded. A framed mirror with a wood frame weighs 20 to 30 pounds. A wall-mounted coat rack with wet winter jackets hits 35 pounds fast. Those numbers change your anchor choice.
Under 10 pounds, a basic plastic expansion anchor holds fine. For 15 to 30 pounds, you want a self-drilling or toggle anchor rated for that load. Over 30 pounds, I move to a stud — no anchor in the world fixes drywall that's been overloaded. The number on the box is the maximum, so subtract 20 percent for real-world peace of mind.
That lesson stuck. Now I buy for the weight, not the sale.
Step 3: Pick the Right Anchor for the Job
Three anchor types handle most household jobs. Plastic expansion anchors are the translucent white things that come in a shelf box. You drill a pilot hole, tap them in, and drive the screw. They are fine for a 5-pound picture frame and cheap enough to keep a handful around.
Self-drilling drywall anchors, like the E-Z Ancor brand in the green packaging, have a pointed tip and sharp threads. They screw directly into drywall without a separate pilot hole, which cuts two minutes per anchor. I keep them for the 15-to-30-pound range, and they have never let me down on half-inch drywall.
Toggle bolts are the heavy hitters. A folded pair of metal wings flips open behind the wall once you push them through the hole. The Toggler Snoggle is the best version I have found. One of those can hold 50 pounds in half-inch drywall, which is enough for a heavy mirror or a small floating vanity. The downside is you need a bigger hole, and if you pull the screw out, the toggle drops down into the wall cavity. That's why I measure twice and keep the toggle sizes separate.
Step 4: The Installation Sequence That Works
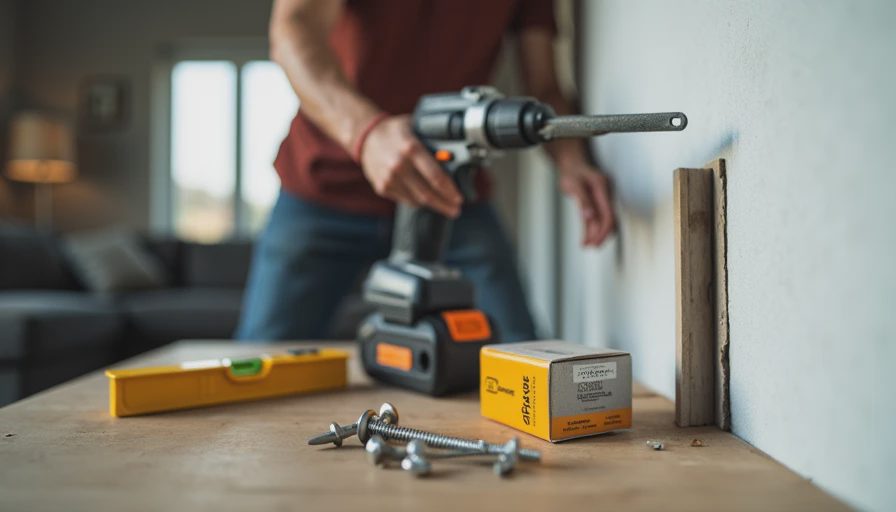
Once you understand how to install screws and anchors in walls correctly, the mechanics are straightforward. Here is the exact process I use. First, run a stud finder over the spot. If you get beeping after a few inches, you've hit a stud — skip the anchor and use a 3.5-inch wood screw instead. If the finder stays quiet, you're in hollow drywall. Mark the spot with a pencil and a level.
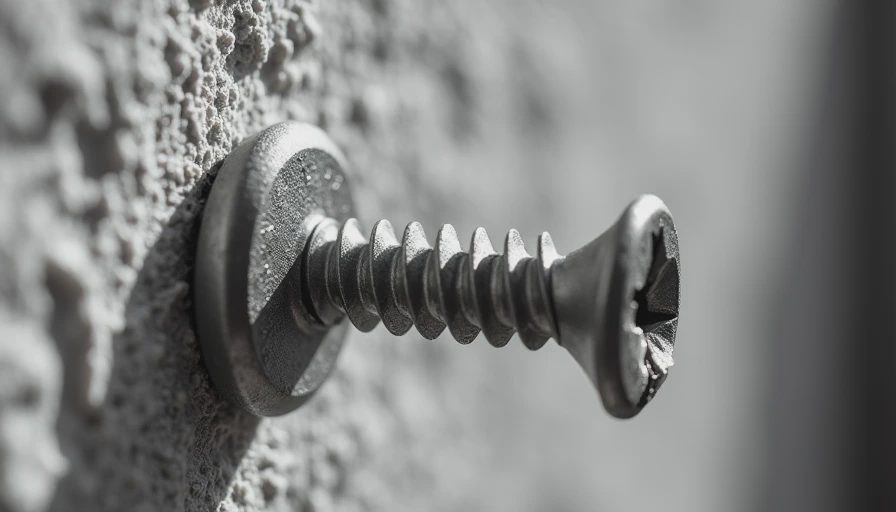
Drill a pilot hole using the bit size printed on the anchor package. On drywall, use a normal drill bit and stop after the drywall layer. On plaster, switch to a masonry bit and go at half speed. Then tap the anchor in with a rubber mallet — a hammer works, but a mallet won't mushroom the edge. Drive the screw until it's snug, not tight. If you feel the anchor spinning, the hole is too wide. The old toothpick trick saves you: pack wood glue and toothpicks into the hole, let it dry, and screw in.
The two biggest mistakes are skipping the pilot hole and over-tightening. Avoid both, and you'll save yourself another trip to the hardware store.
Step 5: The Tools and Costs You Actually Need
You do not need a 20-piece anchor kit to start. A basic drill, a bit set, a rubber mallet, a stud finder, and a level cover 95 percent of jobs. A generic anchor assortment runs about $6 at Home Depot. The E-Z Ancor collection of 24 self-drilling anchors runs about $8. A 10-pack of Toggler Snoggles costs around $7 at big-box stores. Add a box of #8 screws and you're under $30 for a toolbox that handles every shelf, mirror, and coat rack in a standard house.
The Bottom Line
If you have been putting off a picture frame or a wall-mounted shelf because the hardware aisle feels like alphabet soup, this is your sign to start. Measure the wall, weigh the item, pick an anchor rated above the weight, drill a clean pilot hole, and tighten like you're threading a needle.
That's how to install screws and anchors in walls without a call to your landlord or a hole in the plaster. One project in, and you'll trust the tape, not your eye. Your walls will forgive the learning curve — mine did.