
The bathroom vent roof cap is that little metal box on your roof that nobody notices until the ceiling starts dripping. I didn't notice mine for almost four years. Then one April rainstorm, the powder room ceiling bloomed a brown quarter the size of a dinner plate, so I finally climbed up there to see what had been hiding in plain sight.
The original cap was gone. Not broken — gone. The vent pipe was open to the sky, the flapper valve was somewhere in the neighbor's yard, and the last three rainy seasons had been running water straight down the duct into my bathroom wall. Tim said, "So we've been venting the bathroom into the attic." He was right. I was annoyed.
That little cap has one job: let moist air out and keep rain, animals, and debris out. A typical bathroom fan moves 50 to 80 cubic feet per minute. If that air hits a blocked or missing cap, it condenses in the duct, drips back down, and fogs your bathroom mirror every time you shower. Over a year, that's thousands of gallons of moisture hitting your roof deck.
That's when I started measuring. I brought my tape measure on the roof, took 40 photos, and spent a week researching vent caps. The pipe was 4 inches, the roof pitch was 8/12, and the old cap had been nailed, not screwed, which is why it blew off.
Why Roof Vent Caps Fail
Every roof cap fails for one of three reasons: the metal corrodes, the flapper seal erodes, or a bird decides it's a luxury condo. The hardest part is diagnosing the problem from the ground. If your bathroom fan strains to push air, or the duct feels warm and damp, climb up and look before you call a roofer.
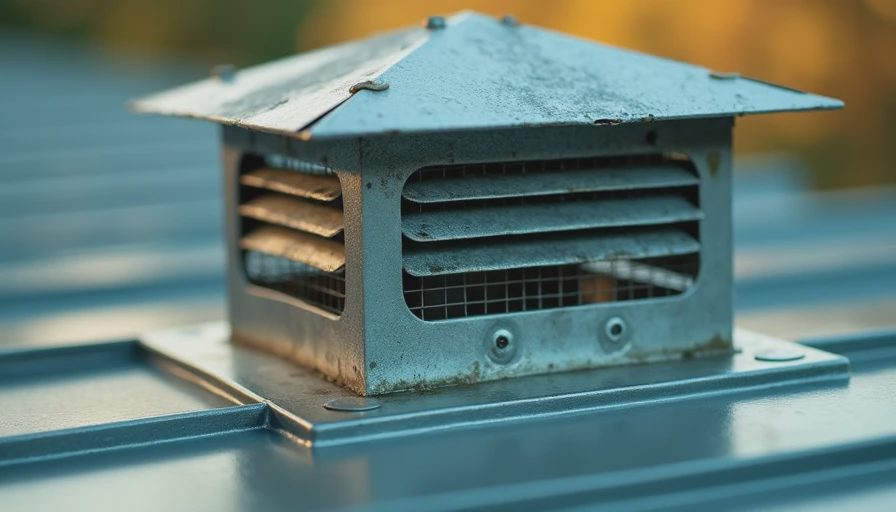
Cast aluminum caps last decades. Galvanized steel rusts through in 10 to 15 years, faster near salt water. Plastic caps get brittle from UV. I replaced my galvanized cap with a cast aluminum model from Broan. It's heavier and costs more, but it should outlive both my mortgage and the dog.
What to Look for in a Bathroom Vent Roof Cap
Before you buy, measure three things: the outside diameter of your duct pipe, the height of the roof collar, and the pitch of your roof slope. A 4-inch round duct is standard in most post-1960 homes, but older houses sometimes have 6-inch or even square transitional pipes. Buy a cap that matches the duct size, not the one that looks the toughest in the store.
You also want a backdraft damper, a screen over the opening, and gasketed flanges. The screen keeps out critters. The damper stops cold air and rain when the fan is off. In a snow zone, pick a high collar — at least 4 inches — so snow doesn't bury the flapper. I nearly bought a 2-inch collar. Tim reminded me our city gets about a hundred inches of snow a year. The tape doesn't lie.
How to Replace a Bathroom Vent Roof Cap
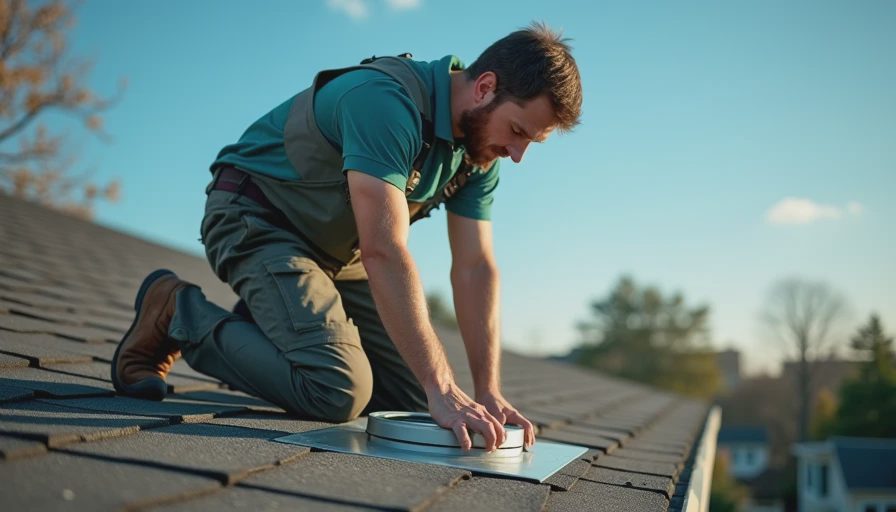
Replacing a bathroom vent roof cap is a half-day job for one patient adult with a ladder, a drill, a flat pry bar, and a tube of roof sealant. First, remove the old cap and inspect the flashing. If the flashing is cracked or lifting, you're looking at a bigger repair than just swapping caps. If it's sound, slide the new cap's base under the shingles above it and over the shingles below, then secure it with the included stainless steel screws.
Second, apply a thick bead of roofing sealant around the base and cover the screw heads. Don't use household silicone. You need a polyurethane roof sealant rated for metal and asphalt. Third, go back inside, turn on the bathroom fan, and press your hand around the cap's edge on the roof. If you don't feel air moving, the duct is likely crushed or disconnected — that's a separate project with its own cost.
What a Bathroom Vent Roof Cap Replacement Costs
For a straightforward no-flashing repair, a DIY bath vent cap replacement runs about $30 to $60 for the cap, $12 for roof sealant, and another $15 for gloves and a scraper if you're starting from an empty toolbag. Total DIY: about $55 to $90, assuming you already own a ladder and a drill.
If you hire a roofer, expect to pay $250 to $450 for parts and labor. Add $100 to $200 more if the flashing or sheathing needs work. Quotes climb higher when homeowners ignore the problem for years — inspect the pipe boot before covering it back up. The cheapest repair catches rot early.
When to Hire a Pro (and When Not To)
Do it yourself if the pitch is walkable and the flashing is intact. Call a roofer if the pipe is on a steep second-story slope, the flashing is rusted, or you've already had a leak. A fall costs more than any invoice. My rule: under a 6/12 pitch and under 12 feet off the ground — DIY. Anything steeper, I phone a roofer friend.
The Bottom Line
A bathroom vent roof cap is a small part with a huge job. Spend the extra few dollars on cast aluminum, measure your duct before you order, and check the cap every spring when you clean the gutters. The cap costs fifty bucks. The ceiling repair it prevents costs nine hundred. I made that mistake once, and my tape measure still hasn't let me forget it. Trust the tape, not your eye.