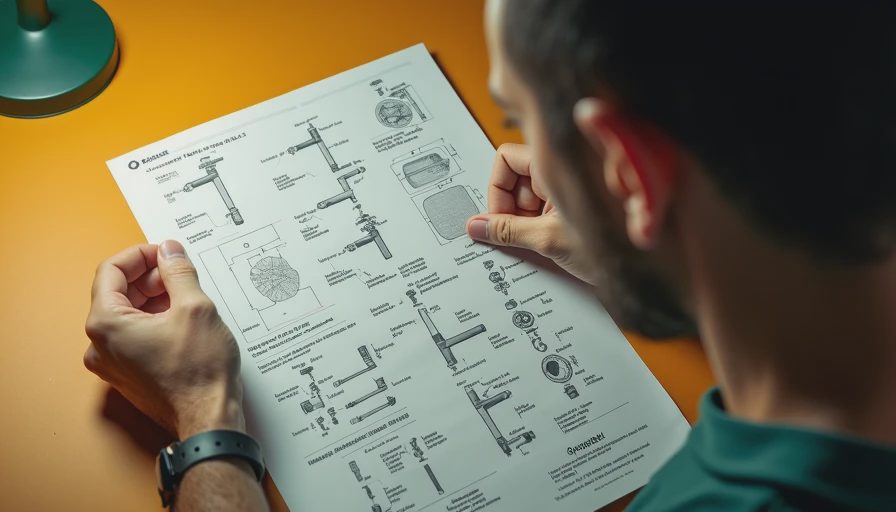
Kohler Kitchen Faucet Parts Diagram: How to Identify and Replace Worn Components
I stood at the sink for ten minutes, drip-watching. That's what I call it when a faucet leak is just slow enough to drive you crazy but not fast enough to demand an emergency plumber. My kitchen Kohler had developed a steady weep around the base of the spout. I knew I needed a Kohler kitchen faucet parts diagram to figure out which seal or cartridge had given up after eight years of daily use.
I don't call a plumber for a drip until I've tried fixing it myself first. That's not stubbornness — it's the numbers. A service call in Columbus runs $150 minimum, plus parts. A replacement cartridge costs maybe $25. The difference funds my next vintage vase purchase. But to get to the fix, you need the right diagram. Not a generic one from a blog. The exact exploded view for your specific model.
Why You Need the Right Parts Diagram for Your Kohler Faucet
Kohler has been making kitchen faucets for decades, and they've used about 47 different internal designs — at least it feels that way when you're swapping parts. The same handle style can hide completely different cartridges depending on the year it was manufactured. I learned this the hard way when I bought a rebuild kit that didn't fit my faucet by a millimeter. That 45-minute trash-can-decision moment? It was nothing compared to the hour I spent trying to jam a round cartridge into a rectangular valve body.
The solution is simple: find the model number of your faucet. It's usually stamped on a small metal plate under the spout or on the base of the body. In my case, it was a tiny sticker I'd ignored for years. Once you have that number, you can pull up the official Kohler kitchen faucet parts diagram from Kohler's website or a parts supplier. The diagram shows every internal piece labelled with its part number. No guessing. No measuring tape needed — for once, trust the diagram, not your eye.
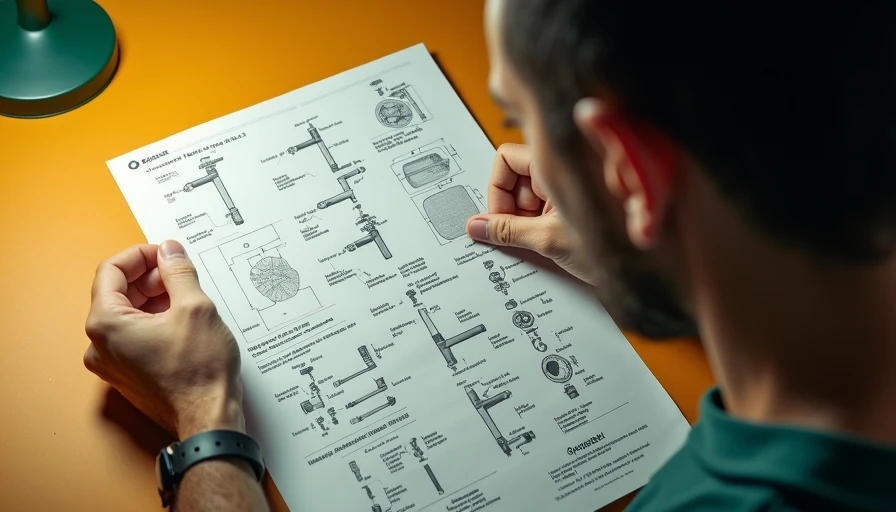
How to Read a Kohler Kitchen Faucet Parts Diagram
I'll walk through the typical diagram layout using my faucet as an example. Imagine an exploded view — all the parts separated and floating in space, connected by dashed lines. The main sections are usually:
- Handle assembly — lever or knob, setscrew, handle base, and sometimes a decorative cap
- Cartridge or valve assembly — the heart of the faucet, where the mixing happens
- Spout assembly — the curved or straight tube, plus the aerator at the tip and the diverter if you have a pull-down spray
- Base and mounting hardware — nuts, washers, and mounting plate that hold the faucet to the counter
- Hoses and supply lines — flexible braided hoses that connect to the stop valves under the sink
Kohler organizes these parts by grouping them into sub-assemblies with a reference number for each group. The diagram might say "Cartridge Kit (includes handle stem, o-rings, retainer clip)" with a single part number for the whole bundle. That's handy — you don't need to buy every o-ring separately.
I pulled up the Kohler kitchen faucet parts diagram for my model and immediately spotted the culprit: the cartridge lower o-ring was leaking. The diagram showed it clearly, labeled as item 12. I ordered a replacement cartridge kit for $22.99, and the shipping was free because the order was over $20.
Step-by-Step: Replacing a Leaky Cartridge Using the Diagram
Once you have the diagram in hand (on your phone or printed out), the repair is surprisingly straightforward. Here's how I did it, and you can too.
First, shut off the water under the sink. Turn the faucet handle to release any pressure. Then remove the handle. On most Kohler faucets, there's a tiny set screw hidden under a decorative cap or behind the handle lever. Use a small Allen wrench — size 3/32 or 5/64, usually.
Next, remove the handle base or bonnet nut. The diagram will show you exactly which nut to unscrew. For my faucet, it was a plastic nut that unscrewed by hand. Underneath, the cartridge was secured with a metal retainer clip. I popped the clip off with a flat-head screwdriver, then pulled the cartridge straight up. It was stuck — eight years of mineral deposits. The diagram reminded me that the cartridge had a tab that needed to be aligned with a notch in the valve body, so I wiggled it more carefully.
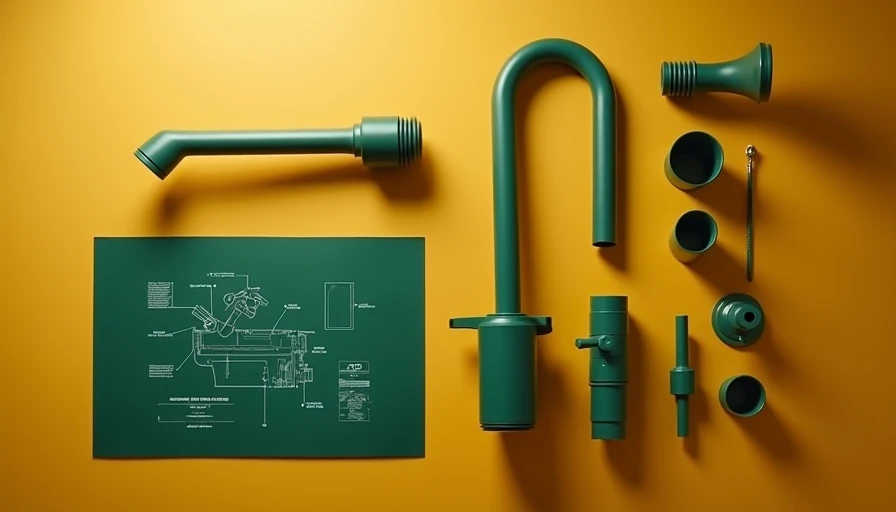
Once the old cartridge was out, I compared it with the new one. They matched perfectly because I used the part number from the diagram. I lubed the new o-rings with silicone grease (a $5 tube from the hardware store), pressed the cartridge into place until it seated with a satisfying click, reinstalled the retainer clip, and put the handle back on. Turned the water on, and no leaks.
The whole job took 22 minutes. I timed it. A plumber would have charged $150 plus whatever markup on the cartridge. I saved $127 and learned exactly what the inside of my faucet looks like. Next time, I'll be even faster.
Common Parts You Might Need
- Aerator — the little mesh screen at the spout tip. If your water flow is uneven or splashes, it's probably clogged. Unscrew it and clean or replace. Part numbers are in the diagram.
- Diverter valve — if your sprayer won't switch back to stream mode, the diverter is likely stuck. The diagram shows its location under the spout base.
- Spray head and hose — the pull-down spray head can crack after years of abuse. Kohler sells replacement heads with matching finishes. Use the diagram to verify compatibility.
- Sink flange and O-rings — leaks around the base are often just a dried-out o-ring. The diagram lists the correct size.
Why I Trust the Diagram Over Guesswork
My father used to say, "If you don't know the parts, you'll buy the wrong one twice." I've done that. But with a Kohler kitchen faucet parts diagram, I buy the right part once. The first time. That's the kind of efficiency my spreadsheeting heart loves. And if you're reading this because your kitchen faucet is dripping at 2 AM and you can't sleep? Google your model number, pull up the diagram, and order the part tonight. The drip will be gone before the weekend.
Trust the diagram, not your eye.




No comments yet — grab the first one.