I once built a planter box with no drain holes because I was in a hurry and wanted the patio done before dinner. Nine days later, the basil looked like soup. That is why I write diy planter box plans like I write budgets—starting with the failure mode. If the box is the wrong depth, the roots rot. If the board is too thin, it bows. If the price is too high, the project dies in the cart.
Start with the plant, then the footprint
For diy planter box plans, the first number I set is depth. Herbs and lettuce are fine in 10 to 12 inches of soil. Tomatoes, peppers, and anything with a real root system do better at 16 to 18 inches. A 48-by-24-inch box is the sweet spot for a small patio because it uses standard lumber lengths and still gives you enough surface area to stop watering every afternoon.
I also think about weight before I think about looks. Wet potting mix is heavy. A box that holds about 10 to 12 cubic feet of soil can end up feeling like a piece of furniture filled with bricks, which matters on an old porch. If the floor flexes when two adults stand in the same spot, do not stack three giant planters there and call it a day. Tim did the load-path lecture on my 1920s porch, and he was right. I was mad. Then I moved the box six feet over and stopped worrying.
Use materials that tolerate water, sun, and dog traffic
Cedar is my default because it survives weather without asking for a museum budget. For a visible box, I like cedar 1x6 boards, 2x2 corner posts, and coated exterior screws. Pressure-treated pine costs less, but it can twist more and I reserve it for utility beds or the back corner where nobody is judging the grain. Redwood is beautiful if you can find it at a sane price, but around Columbus it is often more special-occasion than project material.
Skip drywall screws. They corrode, they snap, and they make me feel like I have made a life choice wrong. Use exterior-rated deck screws or stainless screws if the box will live in wet shade. I usually buy 1 5/8-inch or 2-inch screws for 3/4-inch stock, plus a smaller box of shorter screws for bottom slats. Add landscape fabric to keep soil from leaking out, but do not wrap the inside in plastic unless you want a swamp. Wood needs to breathe.
The budget usually lands somewhere between 70 and 160 dollars for one medium cedar box, not counting soil. A cheaper pressure-treated version can come in around 45 to 90 dollars. Soil mix is another 30 to 80 dollars depending on how many bags you haul home and whether you buy the decent stuff instead of the bargain stuff that turns to dust after the first hot week.
Keep the cut list simple enough to build without a mood board
For diy planter box plans, I keep the cut list boring: straight boards, square corners, and screws that do the real work. If you build a 48-by-24-by-18-inch planter from 1x6 cedar, start with four corner posts cut to height, then stack the side boards in equal courses. That gives you fewer fussy angles and fewer chances to discover that your saw wandered off by 1/8 inch halfway through the job.
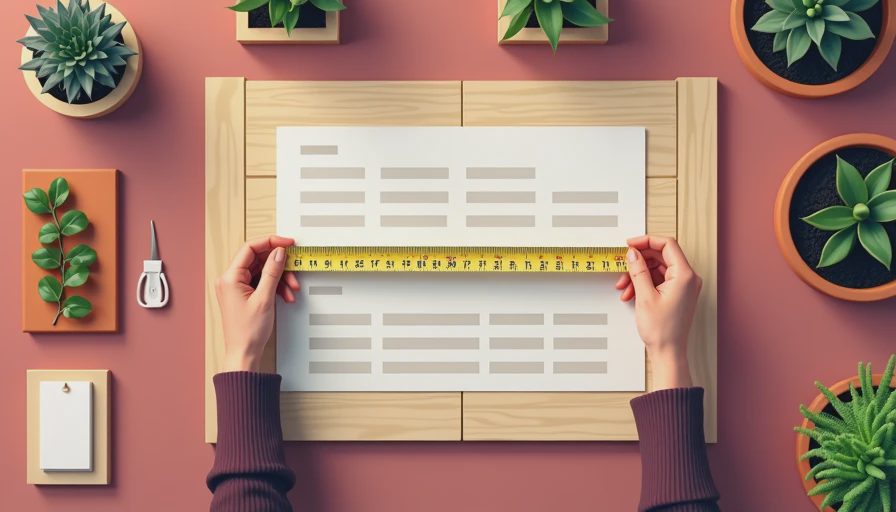
I mark every cut with a tape measure, a pencil, and a speed square. Tim likes to say that a saw can forgive confidence but not bad measurements. He is annoying and correct. Pre-drill the screw holes near every board end, especially in cedar, because splitting a board over a two-cent screw is the kind of mistake that makes a Saturday feel longer than it is.
If you want the box to look finished, add a simple top cap from 1x2 or 1x3 trim. It protects the grain, gives your hands a smoother edge, and costs very little. I do not spend money on decorative brackets because nobody watering basil at 7 a.m. is admiring the joinery. They are looking for a hose and a cup of coffee.
Drainage is not optional, even if the box looks pretty
Most diy planter box plans fail in the same place—water sits in the bottom. That turns roots mushy fast, especially if you grow basil, mint, or anything that likes to act dramatic after one rainy weekend. Drill drainage holes in the floor boards if you use a solid bottom, or leave small gaps between slats. I like 3/8-inch holes every 6 to 8 inches on larger boxes, plus little feet or blocks so air can move underneath.
If moles, squirrels, or curious dogs are part of your household budget, staple hardware cloth over the inside bottom before the soil goes in. It keeps the mix from spilling out and gives the bottom a little structure. For vegetables, I also like a layer of coarse pine bark or gravel-free drainage space only if the design leaves enough height for roots. Too much filler steals root room, and root room is the point.
Finish the outside with an exterior stain or paint if you want, but keep the inside simple. Unfinished wood on the inside ages better than a sealed plastic tub pretending to be a planter. Sand the corners, round the top edges, and do one last hand check for splinters. That is the difference between a box you enjoy and one you keep avoiding because it is irritating to touch.

The budget formula I actually use
When I price diy planter box plans, I break it into three numbers: lumber, hardware, and soil. If the lumber is 80 dollars, the screws and fabric are 15 to 25 dollars, and the soil is 40 to 70 dollars, I know the real project is probably 135 to 175 dollars. That is the number that matters—not the pretty board sticker in the store.
For a couple of medium boxes, I would rather buy slightly better wood and build one less planter than save 20 dollars and end up replacing the box after two winters. The false economy is always the same: cheaper boards, more warping, more repairs, more frustration. A good cedar box can last years if you keep it off standing water and refresh the finish every season or two. That is a lot easier than starting over.
If you want the simplest version, build one 48-by-24-inch cedar box, keep the depth at 16 to 18 inches, use exterior screws, and leave room underneath for drainage. That is the system I use when I do not want to think too hard and I still want the patio to look intentional. Trust the tape, not your eye.