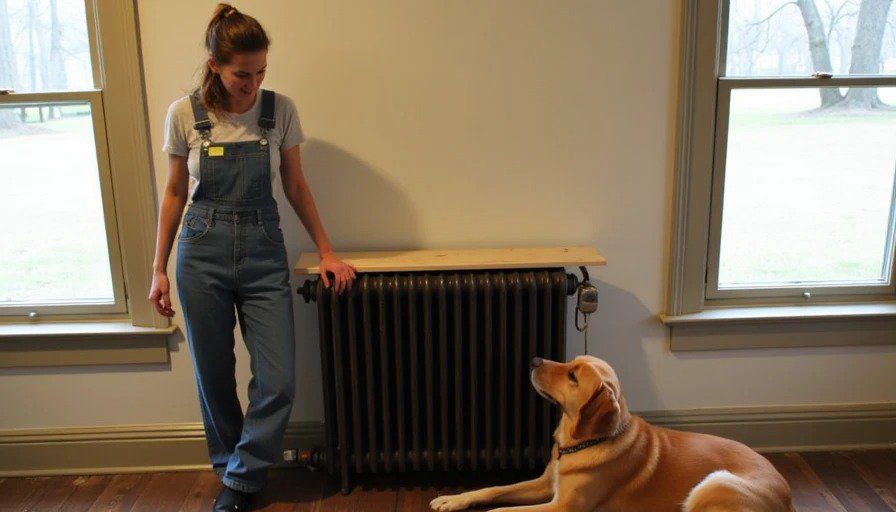
Original cast iron radiators in 1920s homes are efficient but ugly. Ours looked like industrial relics dropped in the living room. Tim wanted them removed. I wanted heat and character.
I tested three cover approaches. Here’s what actually worked.
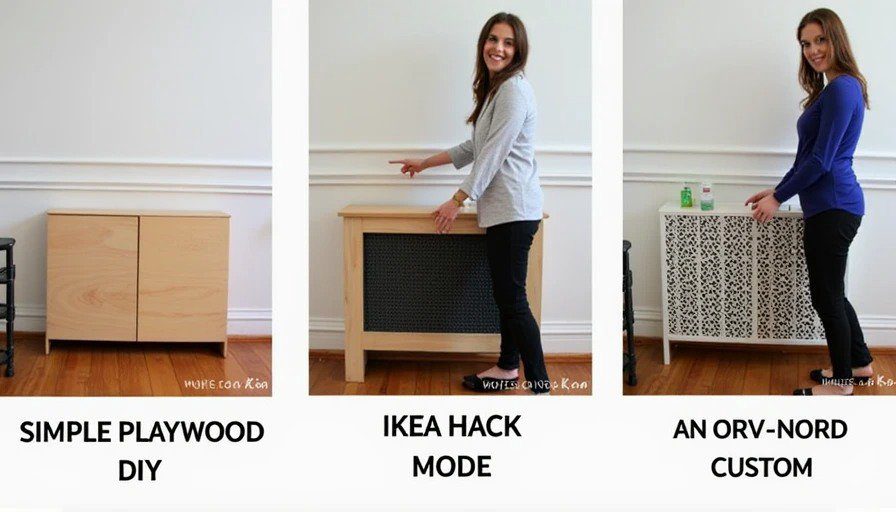
Option 1: The $80 DIY Lumber Version (My Choice)
Materials:
1x6 pine or poplar boards: $35
1x2 framing: $12
Quarter-round trim: $10
Screws, paint, vents/grilles: $23
Build Time: One afternoon.
Simple box frame that slips over the radiator. Removable front panel for maintenance. Vents cut at top and bottom for convection. Painted to match trim.
Heat Impact: Minimal loss (measured ~5-8% drop with infrared thermometer before/after). Airflow is key.
Pros: Cheap, customizable, easy to remove.
Cons: Not furniture-grade beauty.
It works. The living room looks more intentional. Dog doesn’t burn herself on hot metal.
Option 2: IKEA Hack (~$300)
Used Billy bookcase sides or similar components + custom panels. Painted to blend. Added legs for elevation.
Pros: Cleaner lines than pure DIY, faster if you hate building.
Cons: Still needs modification for perfect fit. Heat trapping if not vented properly.
Good middle ground for people who want better aesthetics without full custom.
Option 3: Custom Built or Metal ($600–$800+)
Professionally designed to match millwork. Perforated metal or fine woodworking.
Pros: Beautiful, integrated look.
Cons: Expensive. Long lead times. Overkill for many.
I priced one locally. Beautiful but the $80 version does 90% of the job for 10% of the cost.
Heat Output Reality Check
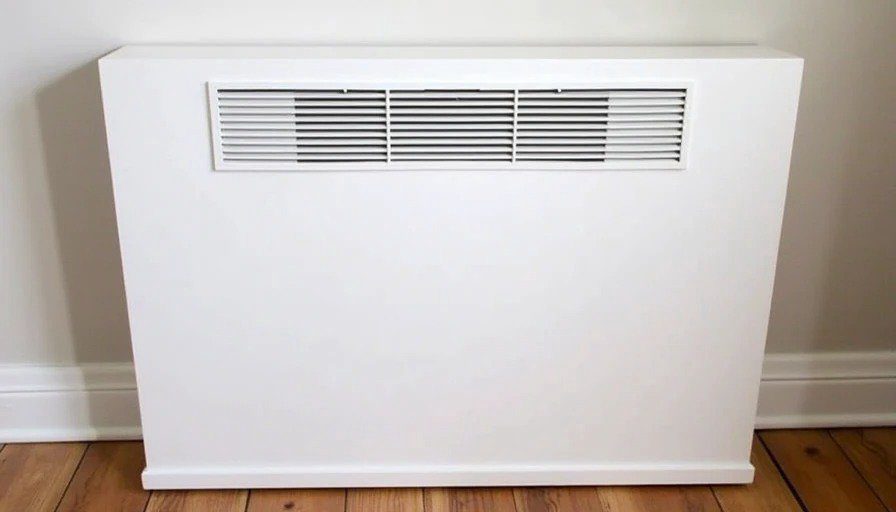
Radiators work by convection. Any cover must allow hot air to rise and cool air to enter. I kept 2–3 inches clearance and large vent areas.
Before/after temperature tests in the room:
No cover: baseline.
$80 cover: 2–3°F lower at seating level after 2 hours. Acceptable.
Poorly designed cover: 8–12°F drop. Not worth it.
Installation Tips for Old Houses
Measure twice around pipes and valves.
Use magnetic vent covers for easy access.
Paint with high-heat rated paint if close to radiator.
Secure lightly — radiators expand/contract.
In rentals: Freestanding screens or tension-mounted panels that leave no marks.
Why the $80 One Won
Data showed good enough heat. Looks “intentional enough.” Saved $720 for other projects. Tim still thinks it could be prettier. I think function first.
The radiator now blends. The room feels warmer psychologically and literally.
Old house math: sometimes the ugly efficient solution beats the pretty expensive one.
Next: sourcing vintage hardware without antique markups.
Trust the tape — and the thermometer.



No comments yet — grab the first one.