
I once spent $38 on an azalea, $14 on acidic fertilizer, and an entire Saturday blaming the Ohio clay for a plant that was simply in the wrong soil. The actual problem: I had never measured anything. A soil pH test kit would have cost less than the fertilizer and taken ten minutes. Tim, my civil engineer husband, pointed this out while holding the dead azalea. He was correct, which was irritating but useful.
Soil pH test kit results tell you whether soil is acidic, neutral, or alkaline. That number affects how easily plants can access nutrients. Most garden plants prefer a slightly acidic to neutral range, roughly pH 6.0 to 7.0, although blueberries, hydrangeas, potatoes, and some perennials have different preferences. The point is not to chase a perfect number. The point is to stop buying amendments based on vibes.
What soil pH actually tells you
The pH scale runs from 0 to 14. A reading below 7 is acidic, 7 is neutral, and above 7 is alkaline. The scale is logarithmic, so a small numerical change represents a meaningful chemical difference. You do not need a chemistry degree to use the information, but you do need to interpret it before adding lime or sulfur.
Soil pH influences nutrient availability. In highly alkaline soil, iron and certain micronutrients can become less available even when they are physically present. In strongly acidic soil, other nutrients can become difficult for plants to use. Yellow leaves, weak growth, and poor flowering can result from several causes, including watering, pests, compacted soil, or insufficient light. A reading narrows the list; it does not magically diagnose every plant problem.
This is where a soil pH test kit earns its shelf space. Basic color-comparison kits usually cost about $8 to $20 and include a small testing container, reagent capsules or powder, and a chart. Digital meters often cost $15 to $40. Lab tests commonly cost more, but they can provide pH, organic matter, and nutrient information together. For a raised bed, vegetable plot, or foundation border, the inexpensive kit is a sensible first pass.
How to use a soil pH test kit without sabotaging the result
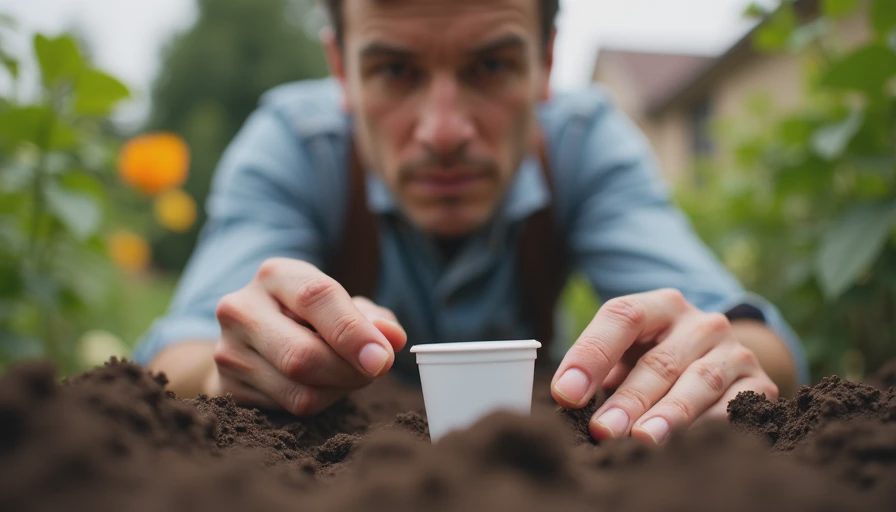
Start with a clean trowel and a clean container. Avoid collecting soil immediately after applying fertilizer, compost, lime, sulfur, or a liquid plant treatment. Those products can distort the reading. I also avoid sampling directly beside a foundation, downspout, compost pile, or recently watered area because each can create a local result that does not represent the whole bed.
Take several small samples from the same growing area. For a lawn, collect soil from several spots across the section. For a vegetable bed, sample from the root zone, usually a few inches below the surface after removing mulch and loose debris. Mix the samples in a clean bucket, then use a portion of that combined soil for the test. This composite approach is more useful than testing one suspicious-looking patch beside the hydrangea.
Follow the kit instructions exactly. Some chemical kits require a specific amount of soil and distilled water, while others use a premixed liquid. Tap water can contain minerals that affect the result, especially in older homes with uncertain plumbing. Let the color develop for the stated time, then compare it in natural daylight. Do not keep staring at a color chart under a warm kitchen bulb and call the closest shade scientific.
Digital meters need their own caution. Insert the probe into evenly moist soil, clean it between samples, and calibrate it if the manufacturer requires calibration. A cheap meter with a dirty or damaged probe can produce wonderfully precise nonsense. The number may show two decimal places; that does not mean the measurement is accurate to two decimal places.
How to read the number and choose an amendment
Suppose your vegetable bed reads pH 6.5. Stop. That is generally a useful range for many vegetables, so adding lime “just in case” is more likely to create a new problem than solve one. If the result is pH 5.2, lime may be appropriate, but the correct amount depends on soil texture, current pH, and the target plant. Clay soil usually requires more amendment than sandy soil because it has greater buffering capacity.
If your reading is pH 7.8 and you want to grow blueberries, the answer is not to dump a bag of sulfur across the bed and hope for a miracle. Blueberries need acidic conditions and good drainage, so a dedicated raised container with an appropriate planting mix can be more predictable. This is often cheaper than repeatedly correcting a large alkaline border.
A soil pH test kit gives a range, not a complete prescription. Read the label on any lime or sulfur product, calculate the bed's square footage, and apply conservatively. Mix amendments into the soil when appropriate rather than leaving granules in a thick layer on top. Recheck after enough time has passed for the material to react—often weeks or longer, depending on the product and conditions.
My rule is simple: change one variable at a time. If you add compost, lime, fertilizer, and sulfur in the same weekend, you will not know which action helped. This is the gardening equivalent of rearranging every piece of furniture and then claiming the room feels better. It might, but the experiment is useless.

Test kits versus lab testing
A home kit works well when you want a quick screening result before planting. It is useful for comparing a lawn section with a vegetable bed, checking whether a new garden area is broadly acidic or alkaline, or deciding whether a suspected pH issue deserves more attention. The main advantage is speed: you can test several samples in one afternoon for roughly the cost of a single bag of specialty fertilizer.
A laboratory test is the better choice when plants repeatedly fail, the property has a history of construction or fill soil, or you are planning a large garden. Lab reports can identify nutrient shortages and excesses that pH alone cannot reveal. They also give you a more defensible starting point for major amendments. Ask your local extension service or a reputable soil laboratory about sampling instructions rather than sending in a handful of soil from one corner.
Keep a basic record. Write down the date, bed location, sample depth, pH result, amendments used, and what was planted. I keep this in a spreadsheet because I am predictable, but a note on your phone works. After one growing season, you will have more useful information than a single test can provide.
The five-minute buying formula
Choose a color-based soil pH test kit for occasional checks and a digital meter only if you will test regularly and are willing to maintain it. Buy a laboratory test for expensive landscaping, persistent plant failure, or soil with an unknown history. Before purchasing any amendment, record the current pH, identify the crop's preferred range, measure the bed, and check the product's application rate.
The formula is: sample several spots, mix them, test cleanly, compare the number with the plant's needs, change one thing, and test again later. That process costs less than guessing and prevents the classic mistake of treating a symptom with a shovel full of lime. Trust the tape, not your eye—and in the garden, trust the test result before the bag of fertilizer.