My first lawn renovation involved one compacted patch beside the back steps, one golden retriever, and an unreasonable amount of confidence. I bought a dethatching rake because the tines looked aggressive enough to solve the problem. They were. They also pulled up living grass, exposed roots, and produced a wheelbarrow of material that I had no plan for. This is the system I use now: measure the thatch, inspect the grass, then choose the tool whose width and tine spacing match the job.
A dethatching rake is a manual lawn tool designed to remove dead stems, roots, and organic debris trapped between green grass and soil. That layer is called thatch. A thin layer can protect the crown and improve resilience, but a dense layer can block water, fertilizer, and air. The goal is not to scrape the lawn until it looks freshly excavated. The goal is to remove enough buildup that rain can reach the soil again.
What a Dethatching Rake Actually Does
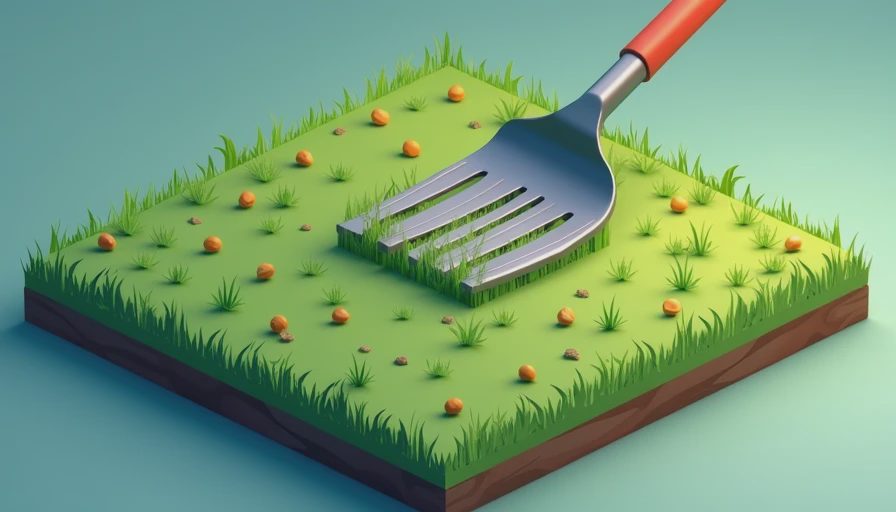
A typical dethatching rake has stiff metal tines arranged in a straight or slightly curved head. Unlike a leaf rake, it is built to comb through the base of turf. Unlike a garden cultivator, it should not dig deeply into soil. That distinction matters because the damage from over-aggressive raking can take longer to repair than the original thatch problem.
Most manual models cost roughly $25 to $60. Budget tools often have a fixed head and a basic wood or fiberglass handle. Better versions may offer adjustable tine depth, a stronger steel head, or a wider working area. A 14- to 16-inch head covers more ground, but a narrower 12-inch head gives you better control around stepping stones, foundation beds, and the uneven edges common around older homes.
The cheapest tool is not always the least expensive choice. If a flimsy head bends halfway through a 1,000-square-foot lawn, replacing it and losing an afternoon costs more than buying a $45 model with a secure handle connection. I now inspect the ferrule, the point where the head meets the handle, before looking at color or brand. Tim says this is obvious. Tim also once bought a shovel with a cracked grip, so we all have blind spots.
Measure the Thatch Before You Rake
Cut a small triangular plug from the lawn using a hand trowel. Measure from the soil surface to the top of the brown, spongy layer. Do not count upright green blades or loose leaves sitting on top. If the thatch layer is less than about one-half inch and water still penetrates normally, aggressive dethatching may not be necessary. Core aeration, mowing correctly, and removing surface debris can be enough.
A layer around one-half inch to three-quarters of an inch deserves closer attention. Push a screwdriver into the ground after watering. If it enters easily and the lawn drains without puddling, use a light pass. If the soil feels sealed and water sits on top, a more deliberate pass may be justified. A layer over one inch is a larger renovation problem, not a reason to attack the lawn repeatedly in one afternoon.
Check the grass type before scheduling the work. Cool-season lawns commonly include Kentucky bluegrass, perennial ryegrass, and tall fescue. Warm-season lawns include Bermuda, zoysia, and centipede. Each has a preferred growth window. Dethatching when grass is dormant, drought-stressed, or heading into extreme heat is an efficient way to create bare soil and invite weeds.
Choosing the Right Tool for Your Yard
For a small lawn, a manual dethatching rake is usually the rational purchase. You control the pressure, the tool stores in a narrow shed, and there is no rental fee. It works especially well on small patches caused by heavy foot traffic, a dog’s favorite route, or soil compacted beside a driveway. Expect roughly 30 to 60 minutes of work per 500 square feet, depending on turf density and how much material must be removed.
A powered dethatcher becomes more practical when the lawn is several thousand square feet or the thatch is dense across the entire surface. Rental prices commonly land around $50 to $100 per day, before any deposit or transport issue. That can be a better value than manual labor, but powered equipment removes material quickly and unevenly if you rush. Make a test pass, inspect the soil exposure, and adjust depth before crossing the whole yard.
Look for three measurable features in a manual tool. First, the handle should be long enough that you can work without bending constantly; around 60 inches is comfortable for many adults. Second, the head should feel rigid when you twist it by hand. Third, adjustable tine depth is useful if one side of the lawn is thin and another side is heavily matted. A tool with more settings is not automatically better, but controlled depth reduces guesswork.
The Technique That Keeps Grass Alive
Mow slightly lower than your normal setting, but do not scalp the lawn. Remove leaves and sticks first because a dethatching rake cannot separate every layer of debris. Work when the soil is slightly moist, not muddy. Dry soil makes the tool bounce, while wet soil lets the tines smear and disturb the surface.
Start with one light pass in a straight line. Pull the rake toward you using your arms and shoulders rather than stamping the head into the soil. Then inspect the result. You should see some brown material gathered between the tines, with most crowns and roots still anchored. If the rake is carrying large clumps of living turf, reduce pressure immediately.
Cross-raking can help on stubborn areas, but it should be a second step, not an automatic ritual. A first pass north to south followed by a lighter east-to-west pass is usually enough for compact patches. Stop when the soil becomes visible in small gaps. Removing every brown strand is not a design requirement; the lawn needs some organic material and living tissue left in place.

What to Do After Dethatching
Rake up the loosened material and remove it from the lawn. A thick pile left in place can block light and moisture again. Add the debris to a compost system only if it is free from persistent weeds and disease. Otherwise, bag it according to local yard-waste rules. This is the unglamorous part that product photos omit — the tool creates a cleanup project, not a disappearing act.
Water deeply enough to moisten the root zone, then let the surface dry between watering sessions. If bare areas are present, overseed with a grass type suited to your region and existing lawn. Press seed into contact with soil, cover it lightly, and keep the surface consistently moist until germination. Do not apply a heavy fertilizer dose simply because the lawn looks stressed. Follow the product label and avoid stacking multiple treatments without a reason.
Keep pets off newly seeded areas as much as practical. My dog can locate fresh seed from inside the house and will choose it over every established section of lawn. Temporary garden fencing costs $20 to $40 and is cheaper than reseeding a second time. It also protects the soil from paw traffic while roots are forming.
A Simple Buying Formula
Use this formula before purchasing: measure lawn size, measure thatch depth, identify grass type, and calculate how often the tool will be used. For a small lawn with moderate buildup, a durable manual dethatching rake in the $30 to $50 range is usually enough. For a large lawn with severe, consistent buildup, compare a rental machine against your labor time and cleanup plan.
Do not buy based on the most dramatic product photograph. Buy based on handle length, head rigidity, tine control, storage space, and return policy. If the lawn needs annual rescue, investigate mowing height, soil compaction, watering habits, and drainage. The rake is a corrective tool, not a substitute for maintenance.
My final check is simple: can I explain why this tool fits the measurements I took? If the answer is yes, buy it. If the answer is “the tines looked powerful,” put it back on the shelf. Trust the tape, not your eye.